Kitchen notes · a little help before you start
Yakitori Recipe
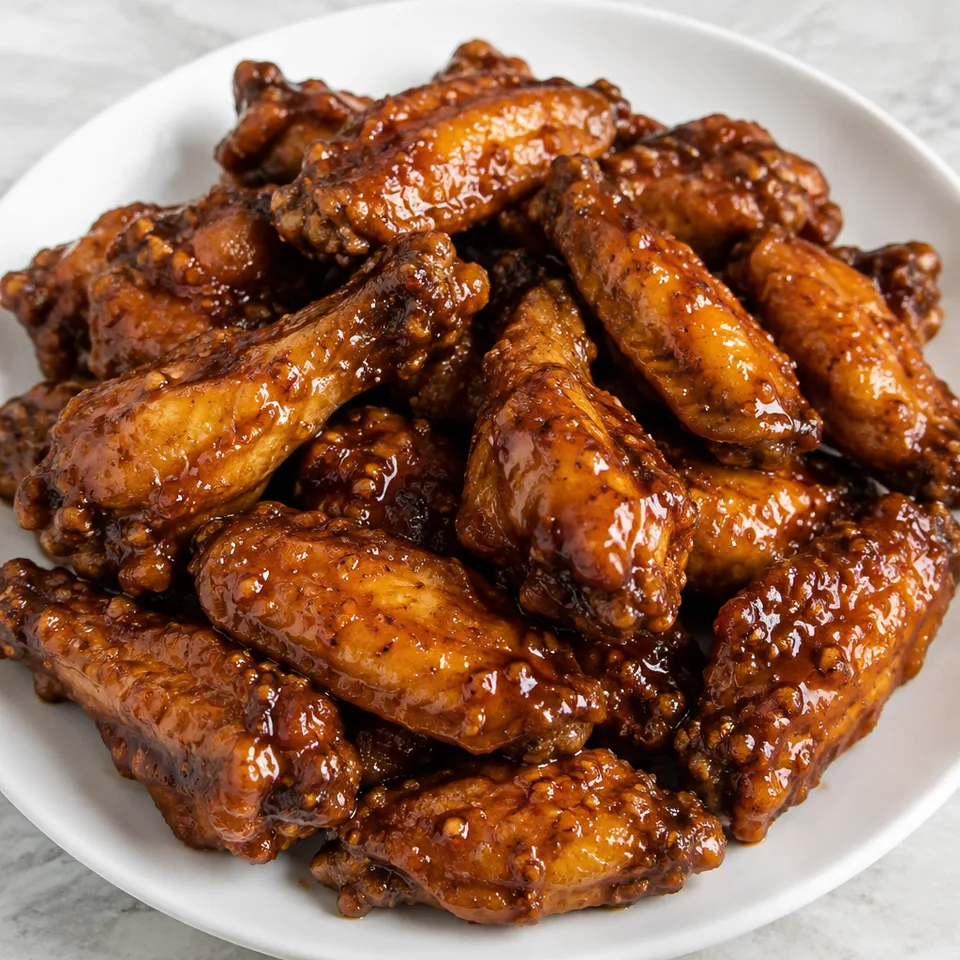
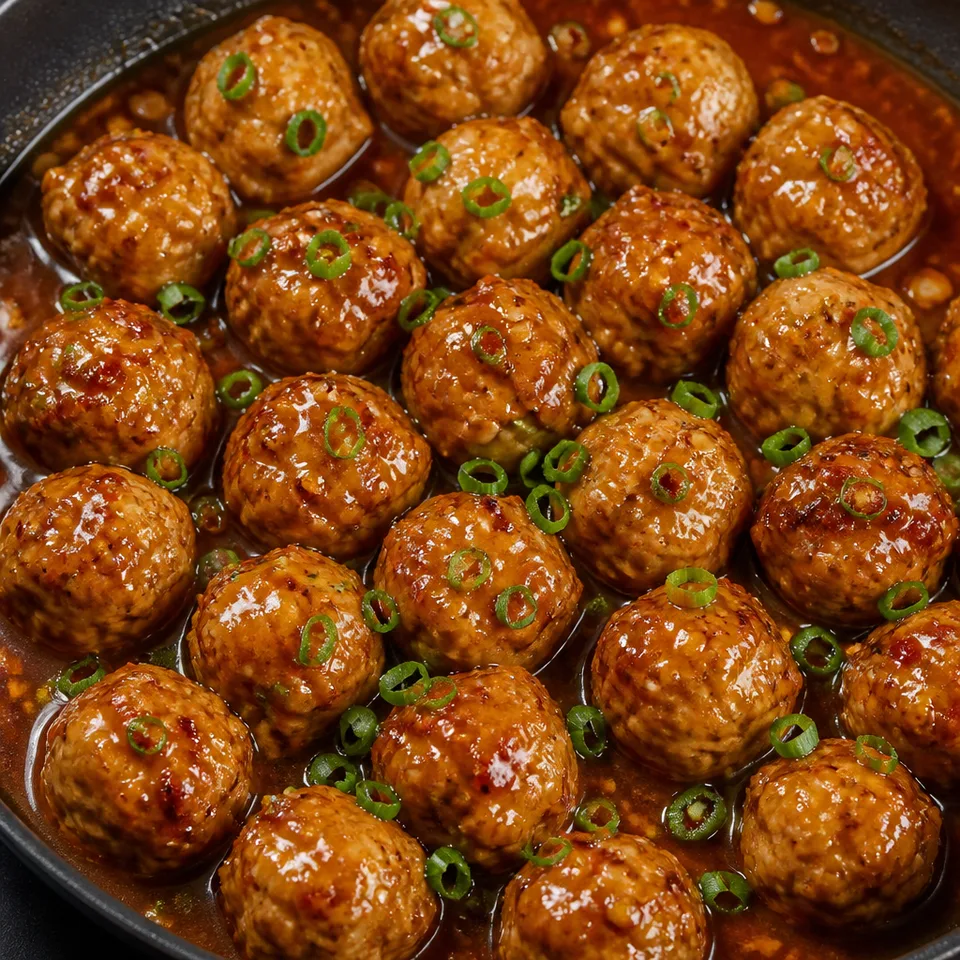
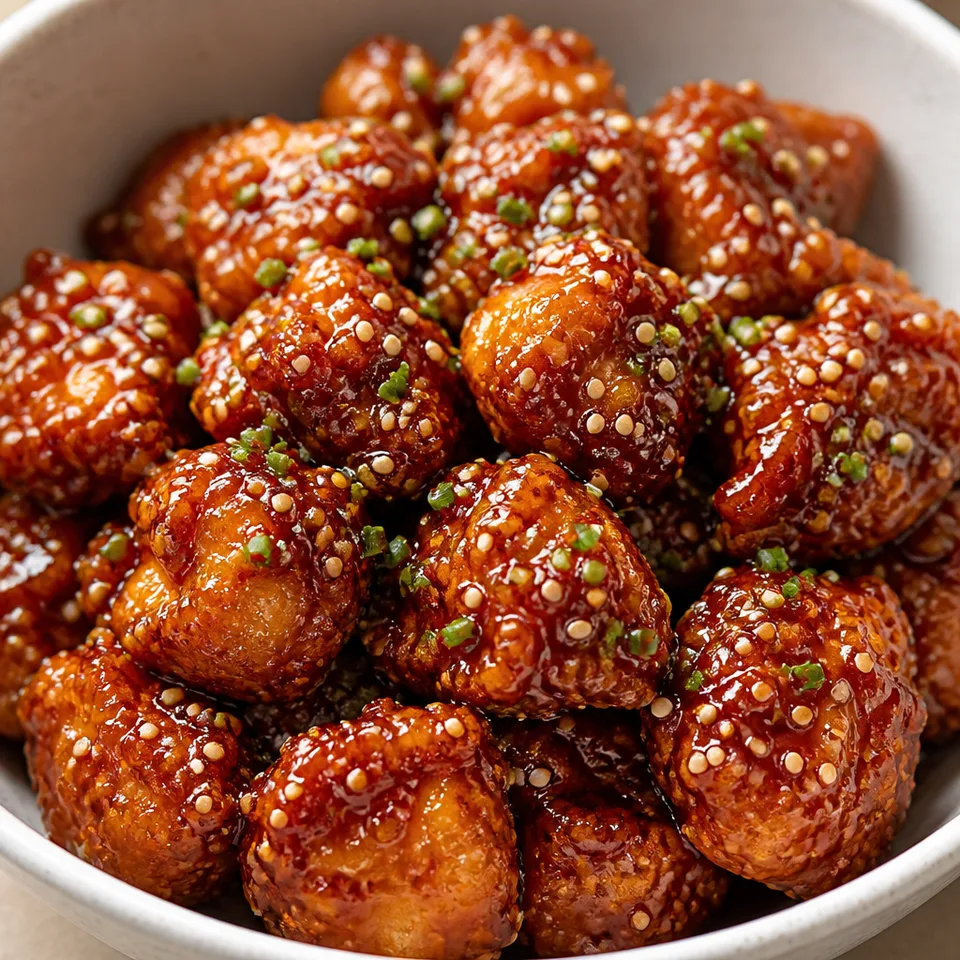
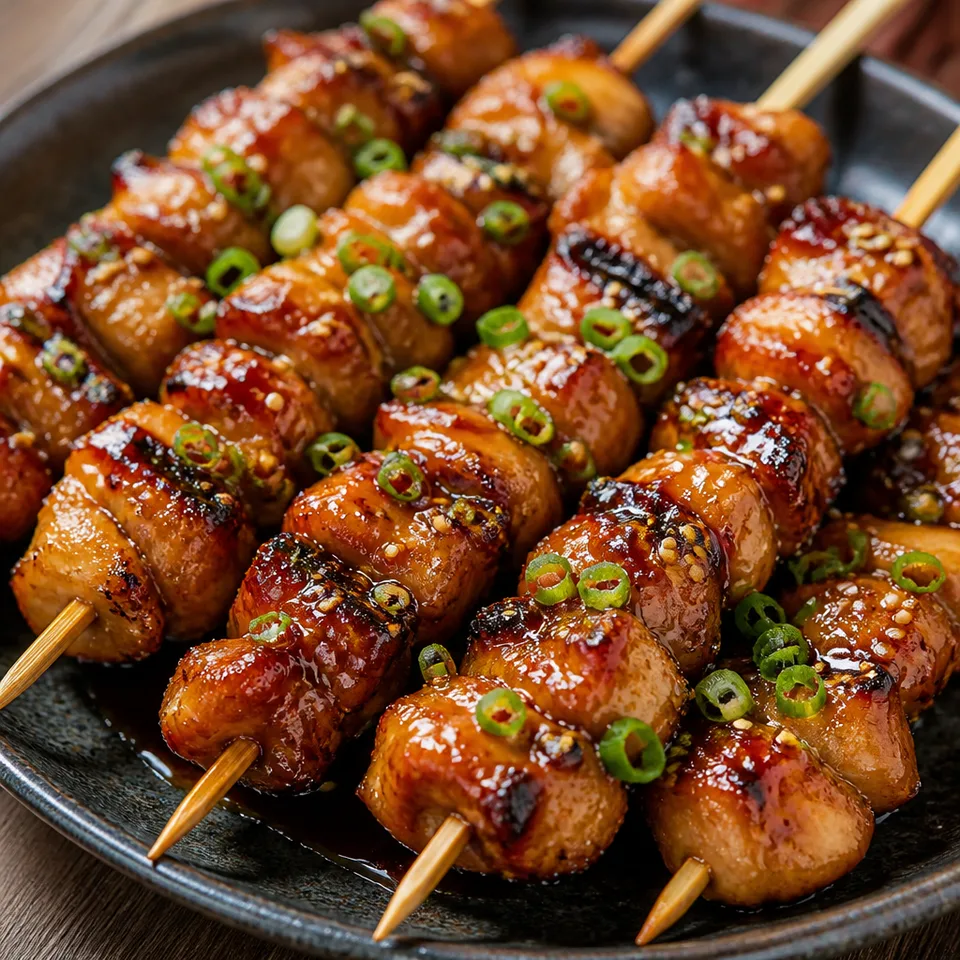
Yakitori skewers have a shiny, savory-sweet coating that catches around the browned chicken. Ginger and garlic give the glaze a fragrant edge, with sesame and green onion over the top. Pull a piece from the skewer and enjoy the layers of sauce with the tender thigh meat.
- Prep
- 10 min
- Cook
- 25 min
- Total
- 35 min
- Original yield
- Serves 4
- Ingredients
- 15 listed
Make it part of your week
Recipe categories & planning details
- Meal type
- Appetizers · Appetizers & snacks · Main course
- Primary protein
- Chicken
- Cuisine
- Asian
- Cooking method
- Grilling
- Preparation & total time
- Prep: 15 minutes or less · Total: 31–60 minutes
A few quick notes
1. Dissolve sugar before boiling
Stir the sauce over medium-high heat until sugar dissolves, then raise the heat to bring it to a boil.
2. Smooth the cornstarch first
Dissolve cornstarch in cold water before adding it to the sauce and boiling until thickened.
3. Layer sauce during cooking
Cook the skewers first, then brush on the sauce in the successive stages described for grilling.
Get to know the ingredients
Chicken thighs
The chicken thighs are cut into bite-sized pieces for threading onto soaked skewers before seasoning and oiling.
Toasted sesame oil
Toasted sesame oil goes into the prepared glaze with soy sauce, honey, ginger, garlic and vinegar.
Green onions
Sliced green onions are reserved for finishing the skewers after their final layer of sauce is brushed on.
Let’s make it
Choose your servings, then check things off as you go.
Original recipe: Serves 4. Original quantities shown.
Check ingredients as you prepare them. These checks stay on this page.
How to make it
0 of 7 steps completeMake room for Yakitori Recipe
Review ingredients in your pantry before anything is added. Meal plans use your household size; grocery-only additions use the servings selected above.
The last little job
One final brush
Brush the finished skewers once more with sauce, then sprinkle sesame seeds and green onions over them before serving.
A little more help as you go
Soak wooden skewers
Soak wood skewers in cold water for thirty minutes to help keep them from burning.
Sauce ahead of time
You can make the sauce up to five days ahead and keep it refrigerated until needed.
A few questions you might have
Can I use a grill pan?
Yes, an outdoor grill or grill pan is specified, preheated to medium heat before the skewers cook.
Does sauce go on before the first grilling?
Season and oil the skewers first; begin brushing sauce after the initial cooking on both sides.
Can I use chicken breast?
Yes, use chicken breast in place of thighs, or try pork tenderloin or sirloin cubes.
When are the sesame seeds added?
Sprinkle them over the skewers with sliced green onions after brushing the final layer of sauce.
Can I prepare the glaze ahead?
Yes, refrigerate the sauce for up to five days or freeze the extra for later.
Any more cooking tips?
I like to use chicken thighs for this recipe because they are more flavorful and are less likely to dry out on the grill. However, you can use chicken breasts if you prefer. Or you can switch things up and try cubes of pork tenderloin or sirloin steak. Soak your wood skewers in cold water for 30 minutes so that they don’t burn on the grill. The sauce can be made up to 5 days in advance and stored in the fridge. You can even make a double batch of the sauce, and freeze some for later use.
Storage & reheating safety
For cooked, perishable leftovers, refrigerate within 2 hours (1 hour above 90°F), using shallow containers for prompt cooling. Keep the refrigerator at 40°F or below, use refrigerated leftovers within 3–4 days, and reheat hot leftovers to 165°F, checked with a food thermometer. Follow any shorter package limit.
These are general safety limits, not a tested storage or freezing recommendation for this particular dish. USDA leftovers guidance · Safe cooking temperatures
Recipe source: dinneratthezoo.com. Ingredient names and quantities may be adapted for the pantry.
Preparation notes follow the recipe shown here.