Kitchen notes · a little help before you start
Miso Ramen
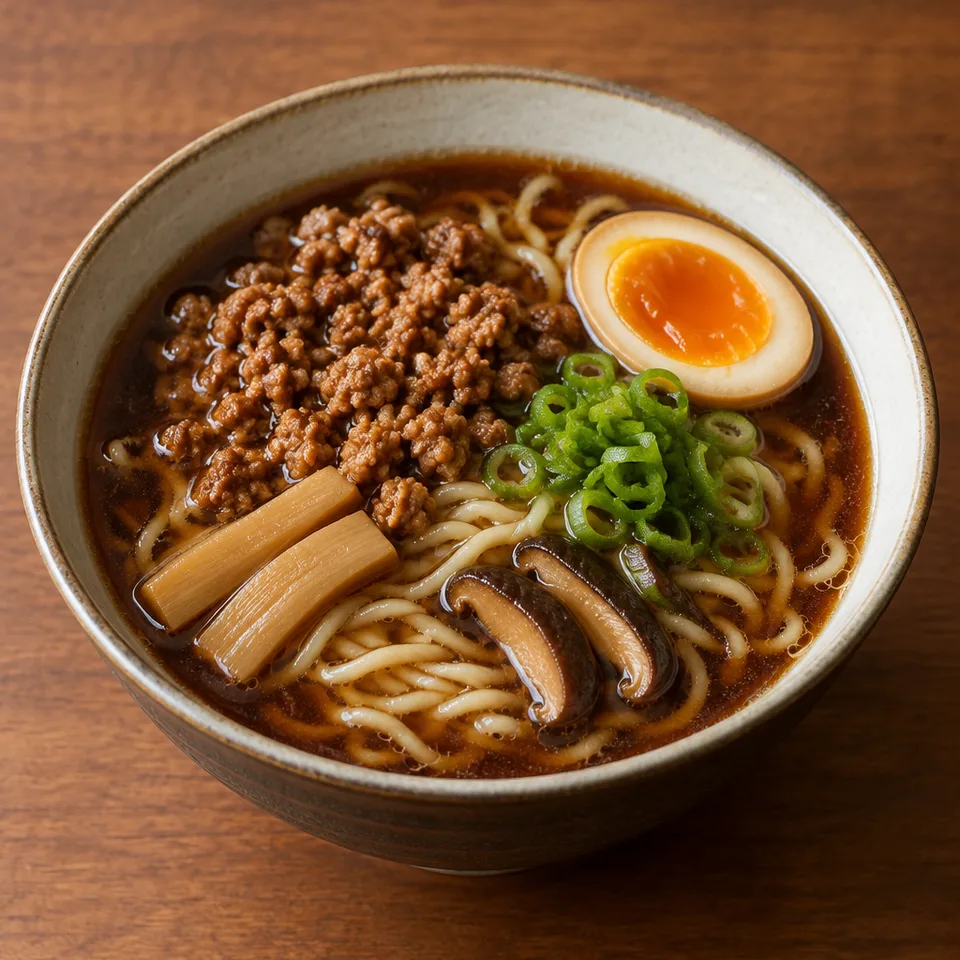
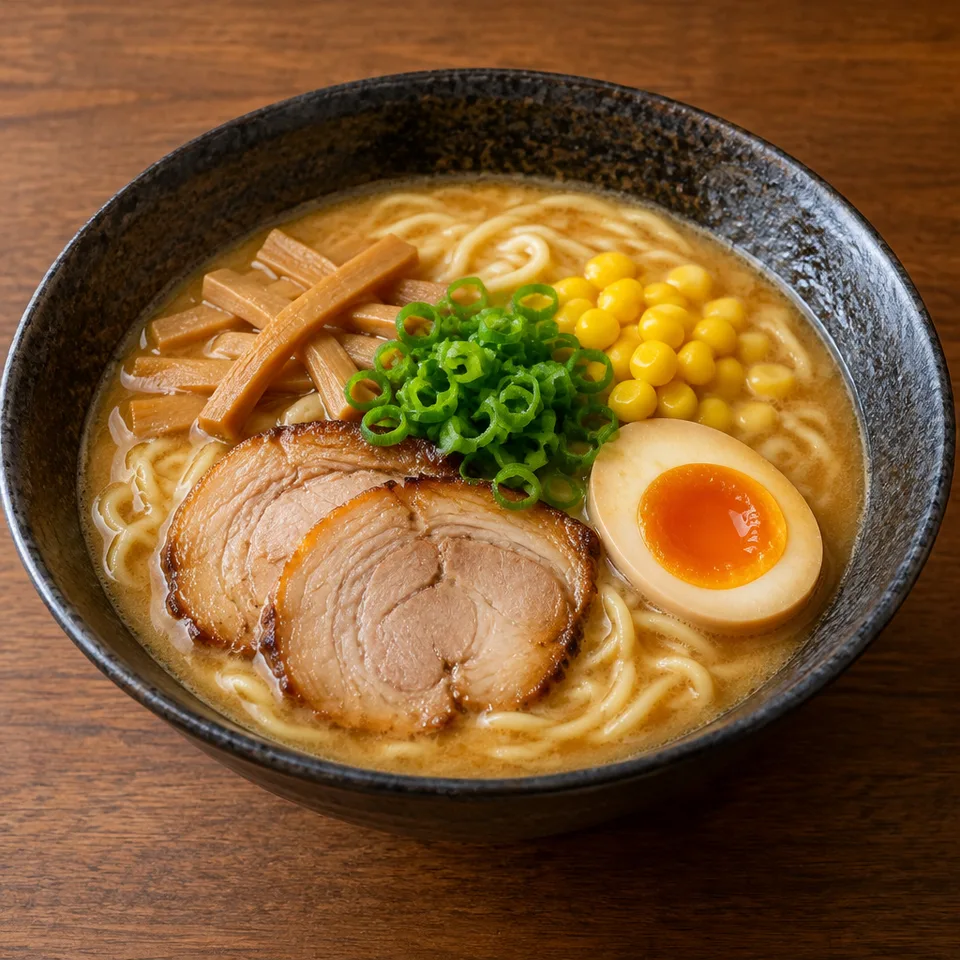
A deep bowl of miso ramen deserves a proper break in your day. There's rich broth to sip and a satisfying tangle of noodles to work through.
- Prep
- 10 min
- Cook
- 20 min
- Total
- 30 min
- Original yield
- Serves 2
- Ingredients
- 15 listed
Make it part of your week
Recipe categories & planning details
- Meal type
- Main course
- Primary protein
- Pork
- Preparation & total time
- Prep: 15 minutes or less · Total: 30 minutes or less
- Dish type
- Noodles
A few quick notes
1. Brown it well, don't rush it
The broth gets its depth from the pork mixture browning hard enough to leave a thick layer of fond on the pan. Keep crumbling the meat small as it cooks, and stop before the fond turns burnt.
2. Scrape while you add the liquid
When the sake goes in, use it to loosen the browned bits right away. Keep scraping after the stock and gelatin are added too, so the flavor stuck to the pan ends up in the broth.
3. Keep the finished broth gentle
After the miso and butter are blended in, keep the broth warm over low heat. It should not boil at this point, so move it off the heat if it starts getting too lively.
Get to know the ingredients
Ground pork
Use the ground pork called for here, with its 75/25 meat-to-fat ratio. The fat helps the crumbles fry and brown, which is where a lot of the broth's savory base starts.
Hatcho miso
This miso goes into the pan early with the pork and baking soda, so it cooks into the browned base rather than being stirred in at the end. That early browning is part of the flavor-building step.
Powdered gelatin
The gelatin is added with the chicken stock before the broth simmers. Stir it in well as the mixture comes to a rolling boil, since it's meant to become part of the broth's body.
Let’s make it
Choose your servings, then check things off as you go.
Original recipe: Serves 2. Original quantities shown.
Check ingredients as you prepare them. These checks stay on this page.
How to make it
0 of 12 steps completeMake room for Miso Ramen
Review ingredients in your pantry before anything is added. Meal plans use your household size; grocery-only additions use the servings selected above.
The last little job
The last little job
Shake the drained noodles well before they go into the bowls. Extra water clinging to fresh ramen can thin the broth, and this soup deserves to hit the noodles full-strength.
A little more help as you go
Press the solids
When you strain the soup, don't just pour and move on. Press on the solids to get as much liquid out as you can, because that's broth you've already spent time building.
Blend before warming
The red miso, Saikyo miso, and butter are blended into the strained broth with an immersion blender. That helps the soup come together before it goes back on low heat.
A few questions you might have
Why grate the onion, carrot, ginger, and garlic straight into the pan?
They cook down with the pork instead of sitting in larger pieces. Grating also makes it easy to weigh each one directly in the pan if you're using the scale as written.
How brown should the pork mixture get?
Look for well-browned meat and a thick layer of brown fond on the bottom of the pan. Brown is good here, but blackened or burnt fond will bring bitterness into the broth.
Do I need to keep the solids after straining?
No. Press them firmly to get as much liquid as possible, then the strained broth moves on to the miso and butter. The recipe uses the liquid, not the cooked solids, in the bowls.
Why shouldn't the finished broth boil?
The broth is kept warm after the miso and butter are blended in. Low heat is enough at that stage, and the recipe specifically warns not to let it boil.
When do the toppings go on?
Add them after the noodles are divided and covered with soup. The suggested toppings include chashu, a ramen egg, menma, scallions, and corn, so finish the bowls however you like from there.
Storage & reheating safety
For cooked, perishable leftovers, refrigerate within 2 hours (1 hour above 90°F), using shallow containers for prompt cooling. Keep the refrigerator at 40°F or below, use refrigerated leftovers within 3–4 days, and reheat hot leftovers to 165°F, checked with a food thermometer. Follow any shorter package limit.
These are general safety limits, not a tested storage or freezing recommendation for this particular dish. USDA leftovers guidance · Safe cooking temperatures
Recipe source: norecipes.com. Ingredient names and quantities may be adapted for the pantry.
Preparation notes follow the recipe shown here.