Kitchen notes · a little help before you start
20 Minute Cheesy Beef and Shells
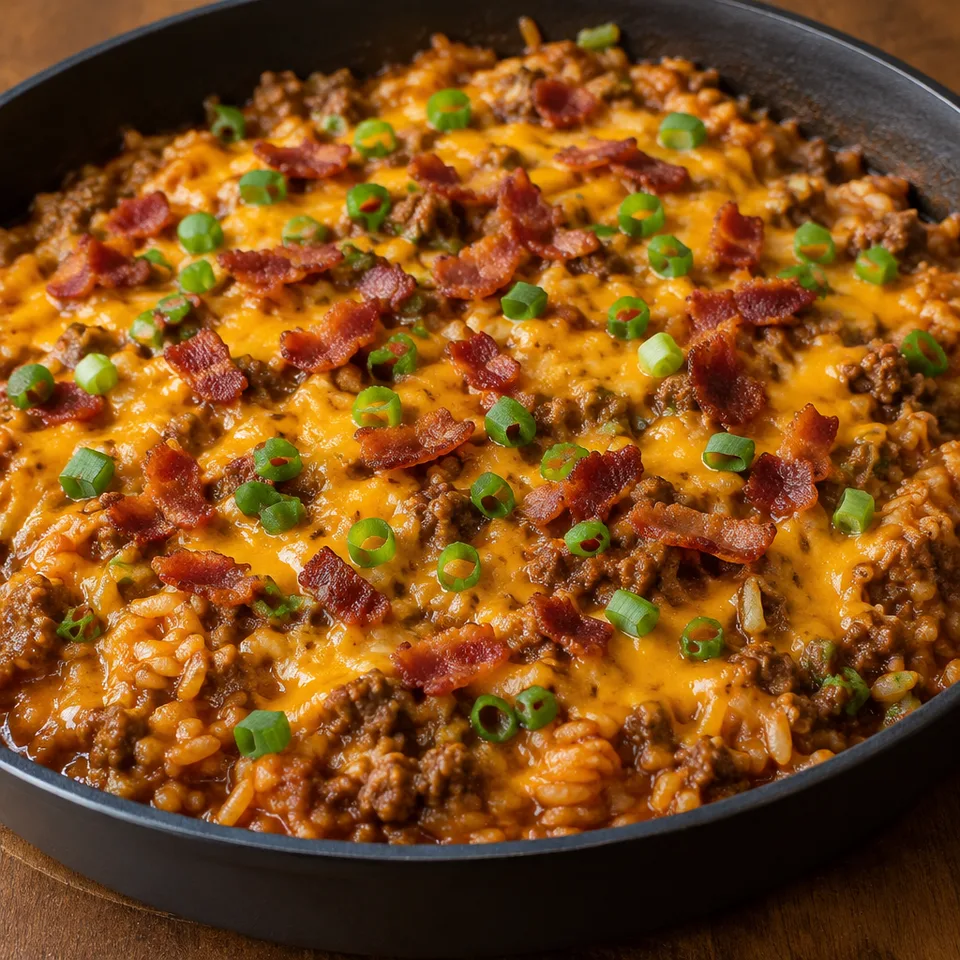
Little pasta shells are especially good at catching a creamy beef sauce, and these have plenty of cheese folded through them. Tomato gives the sauce a gentle tang beneath the cheddar. A generous spoonful is an inviting dinner when familiar flavors sound good.
- Cook
- 20 min
- Total
- 20 min
- Original yield
- Serves 8
- Ingredients
- 13 listed
Make it part of your week
Recipe categories & planning details
- Meal type
- Dinner · Main course
- Primary protein
- Beef
- Cuisine
- American · Italian American · Italian
- Preparation & total time
- Total: 30 minutes or less
A few quick notes
1. Cook the pasta while the beef starts
The timing works best if the shells are boiling while the onion, garlic, and beef cook. Drain and rinse the pasta, then keep it nearby so it can go straight into the cheesy sauce.
2. Let the sauce thicken before the cheese
After the broth and tomato sauce go in, give the skillet its simmer. That short thickening step helps the flour do its job before the cream cheese and cheddar are stirred through.
3. Break up the beef well
Cook and crumble the ground beef until it’s browned with no pink left. Smaller pieces mix into the shells more evenly, so every scoop gets beef, pasta, and sauce together.
Get to know the ingredients
Medium shells catch the sauce
Use medium shells here, cooked separately according to the package directions. Their shape gives the thick tomato-cheese sauce plenty of little pockets to settle into once everything is combined.
Cream cheese goes in cubed
Cube the cream cheese before adding it to the skillet. Smaller pieces melt into the hot sauce more easily, especially with the cheddar going in at the same time.
Flour thickens the skillet sauce
The flour is stirred in with the seasonings before the liquids. Once the broth and tomato sauce are added and simmered, it helps turn the mixture into a sauce that clings to the shells.
Let’s make it
Choose your servings, then check things off as you go.
Original recipe: Serves 8. Original quantities shown.
Check ingredients as you prepare them. These checks stay on this page.
How to make it
0 of 4 steps completeMake room for 20 Minute Cheesy Beef and Shells
Review ingredients in your pantry before anything is added. Meal plans use your household size; grocery-only additions use the servings selected above.
The last little job
Serve it as soon as the cheese melts
Once the cream cheese and cheddar have melted and the pasta is heated through, it’s ready. This dish is at its best right away, while the sauce is smooth and loose around the shells.
A little more help as you go
Add the liquids slowly
Stir the broth in slowly after the flour and seasonings. It helps the mixture come together smoothly before the tomato sauce simmers and thickens in the skillet.
Keep the skillet at a simmer
The sauce only needs to simmer until it starts to thicken. Once it does, move on to the pasta and cheeses so the finished dish stays creamy.
A few questions you might have
Do I add the shells uncooked to the skillet?
No. Cook the medium shells first in boiling water according to the package directions, then drain and rinse them. They’re added back to the skillet after the sauce has thickened.
Why is the flour added before the broth and tomato sauce?
Stirring the flour into the beef mixture first helps it blend with the fat and seasonings. Then the broth and tomato sauce can thicken as they simmer.
When is the beef cooked enough?
Cook and crumble it until it’s browned and no pink remains. The recipe gives that step about 7 to 10 minutes after the beef goes into the skillet.
Can the cheeses go in before the sauce thickens?
Wait until after the broth and tomato sauce have simmered and started to thicken. Then add the cooked shells, cubed cream cheese, and shredded cheddar and stir until melted.
Do I need to drain the beef?
The recipe doesn’t include a draining step. It starts with lean ground beef, then the flour, seasonings, broth, and tomato sauce are stirred right into the skillet.
Storage & reheating safety
For cooked, perishable leftovers, refrigerate within 2 hours (1 hour above 90°F), using shallow containers for prompt cooling. Keep the refrigerator at 40°F or below, use refrigerated leftovers within 3–4 days, and reheat hot leftovers to 165°F, checked with a food thermometer. Follow any shorter package limit.
These are general safety limits, not a tested storage or freezing recommendation for this particular dish. USDA leftovers guidance · Safe cooking temperatures
Recipe source: therecipecritic.com. Ingredient names and quantities may be adapted for the pantry.
Preparation notes follow the recipe shown here.