Kitchen notes · a little help before you start
Easy Sweet and Sour Chicken
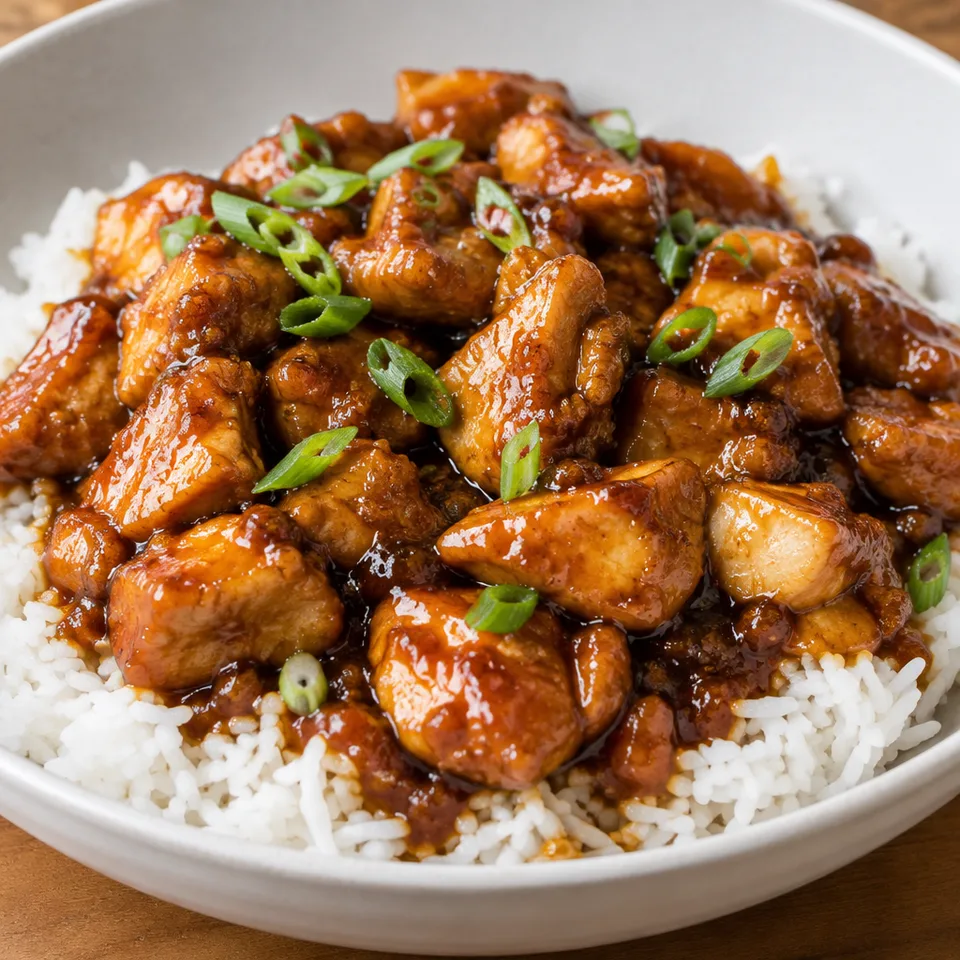
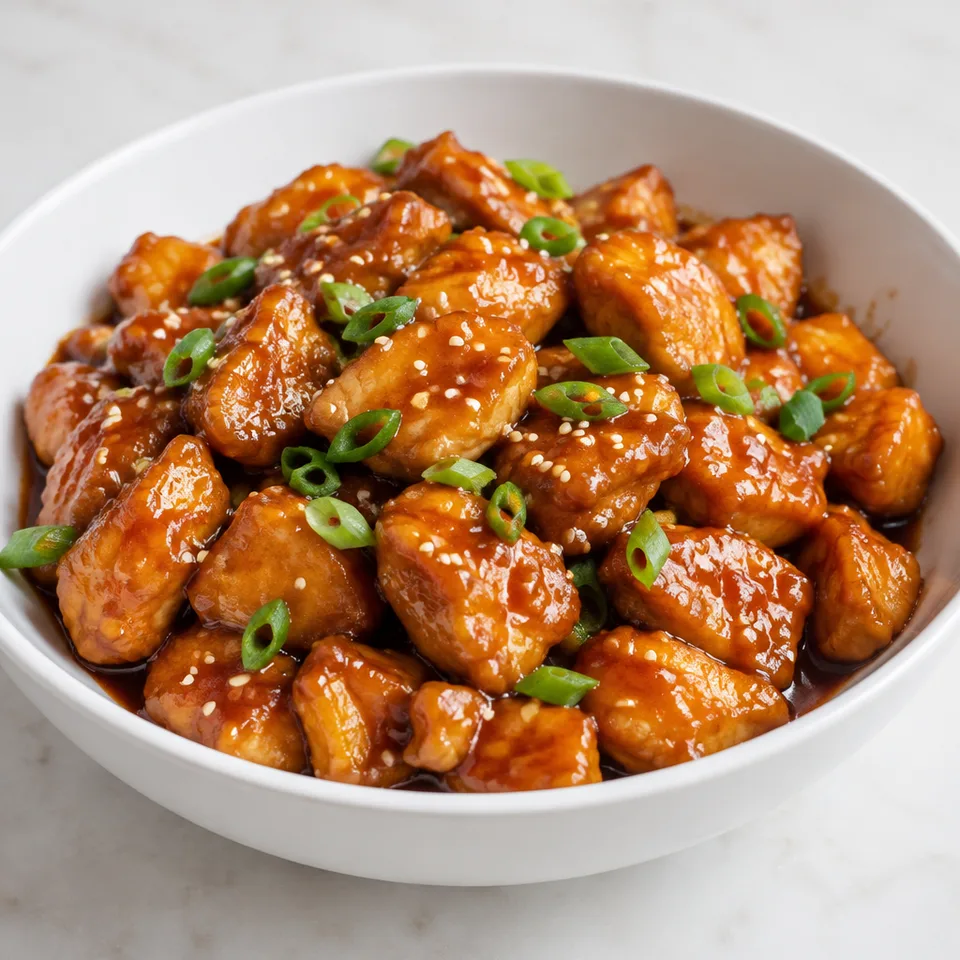
Sweet and sour chicken is especially appealing when the tangy sauce catches every little piece. Garlic adds a savory note beneath the sweetness, with optional sesame seeds for a little texture on top. It's a dinner for the evenings when a glossy, saucy plate sounds just right.
- Prep
- 5 min
- Cook
- 10 min
- Total
- 15 min
- Original yield
- Serves 4
- Ingredients
- 15 listed
Make it part of your week
Recipe categories & planning details
- Meal type
- Main course
- Primary protein
- Chicken
- Cuisine
- Asian
- Preparation & total time
- Prep: 15 minutes or less · Total: 30 minutes or less
A few quick notes
1. Start the sauce first
The sauce needs a short simmer after the cornstarch slurry goes in, so get it bubbling before you cook the chicken. A quick whisk now and then keeps it smooth while the skillet is busy.
2. Coat the chicken evenly
Shake the chicken with cornstarch, salt, and pepper until the pieces look lightly coated all over. That little coating helps the sauce cling later, so don’t skip the bag-shake step.
3. Keep the skillet from drying out
Cook the chicken over medium-high heat, checking the pan as you stir and flip. If it starts looking dry, add extra oil so the pieces can keep cooking evenly.
Get to know the ingredients
Use cold water for the slurry
Stir the cornstarch into cold water before it goes into the hot sauce. Adding it as a slurry helps it blend in, instead of clumping the moment it hits the saucepan.
Cut the chicken small
The chicken is meant to be in 1-inch pieces so it cooks through quickly in the skillet. Boneless skinless thighs are listed as an option if you’d rather use them than breasts.
Low-sodium soy sauce matters here
The sauce already has sweetness, vinegar, garlic, and seasoning in the chicken coating. Low-sodium soy sauce gives it that savory edge without making the finished sauce overly salty.
Let’s make it
Choose your servings, then check things off as you go.
Original recipe: Serves 4. Original quantities shown.
Check ingredients as you prepare them. These checks stay on this page.
How to make it
0 of 7 steps completeMake room for Easy Sweet and Sour Chicken
Review ingredients in your pantry before anything is added. Meal plans use your household size; grocery-only additions use the servings selected above.
The last little job
The last little job
Once the chicken is cooked through, turn the heat down before adding the sauce. Let it simmer just a minute or two, only long enough to coat the pieces, then finish with the optional green onions and sesame seeds.
A little more help as you go
Serve it right away
The chicken is best warm and fresh, straight after the sauce has coated the pieces. Leftovers can be kept airtight in the fridge for up to 5 days or frozen for up to 3 months.
Whisk as it simmers
After the slurry goes into the saucepan, the sauce simmers on low while the chicken cooks. Give it a whisk now and then so the thickening stays even and the bottom doesn’t get neglected.
A few questions you might have
Do I add all the cornstarch to the sauce?
No. The recipe uses cornstarch in two places: some stirred with cold water to thicken the sauce, and the rest shaken with the chicken before it cooks.
Should the sauce be boiling the whole time?
Bring it to a boil first, then reduce the heat to low after the slurry goes in. From there it just needs a gentle simmer while you cook the chicken.
How do I know when to add the sauce to the skillet?
Add it only after the chicken has cooked through. Then lower the heat, stir everything together, and let it simmer briefly so the sauce coats the chicken.
Are the green onions and sesame seeds required?
No, they’re optional garnishes. Add them at the end if you’re using them, right before serving immediately.
Can I reheat leftovers?
Yes. The storage note says to reheat gently in the microwave or as desired after keeping the chicken airtight in the fridge or freezer.
Any more cooking tips?
Storage: Chicken is best warm and fresh but will keep airtight in the fridge for up to 5 days or in the freezer for up to 3 months. Reheat gently in the microwave or as desired.
Storage & reheating safety
For cooked, perishable leftovers, refrigerate within 2 hours (1 hour above 90°F), using shallow containers for prompt cooling. Keep the refrigerator at 40°F or below, use refrigerated leftovers within 3–4 days, and reheat hot leftovers to 165°F, checked with a food thermometer. Follow any shorter package limit.
These are general safety limits, not a tested storage or freezing recommendation for this particular dish. USDA leftovers guidance · Safe cooking temperatures
Recipe source: averiecooks.com. Ingredient names and quantities may be adapted for the pantry.
Preparation notes follow the recipe shown here.