Kitchen notes · a little help before you start
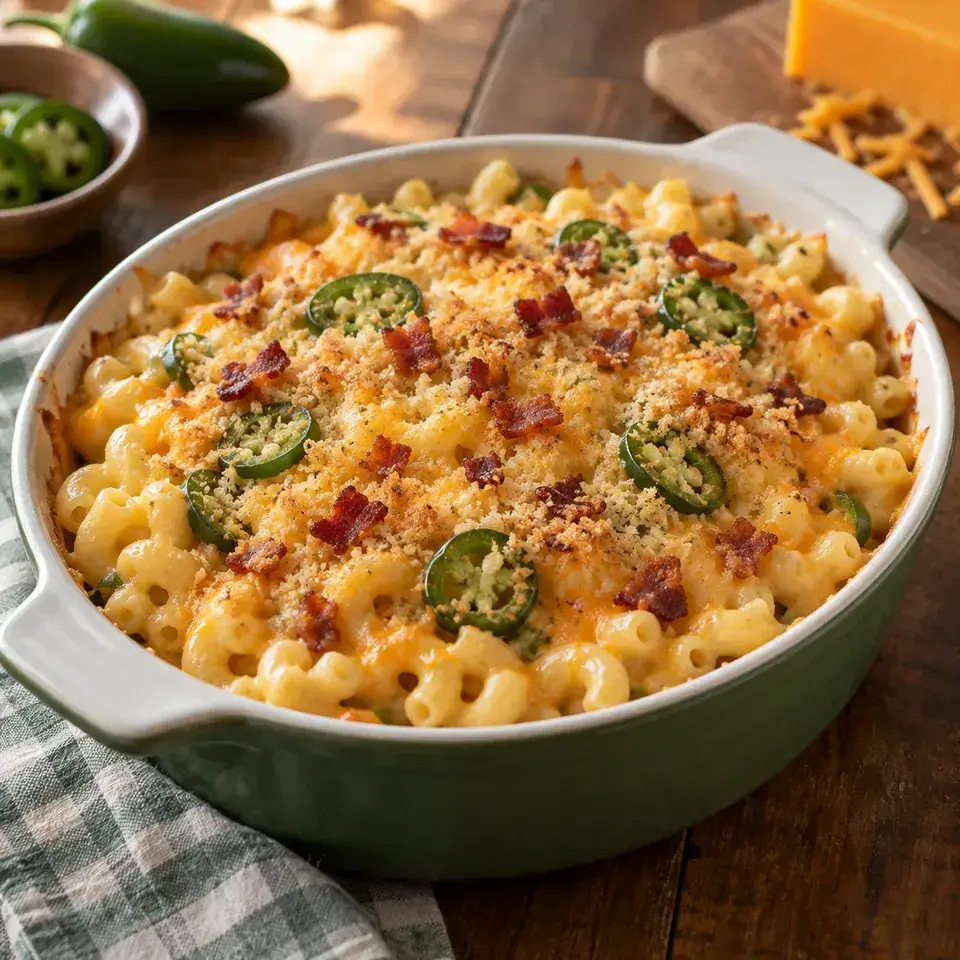
Baked Jalapeño Mac & Cheese
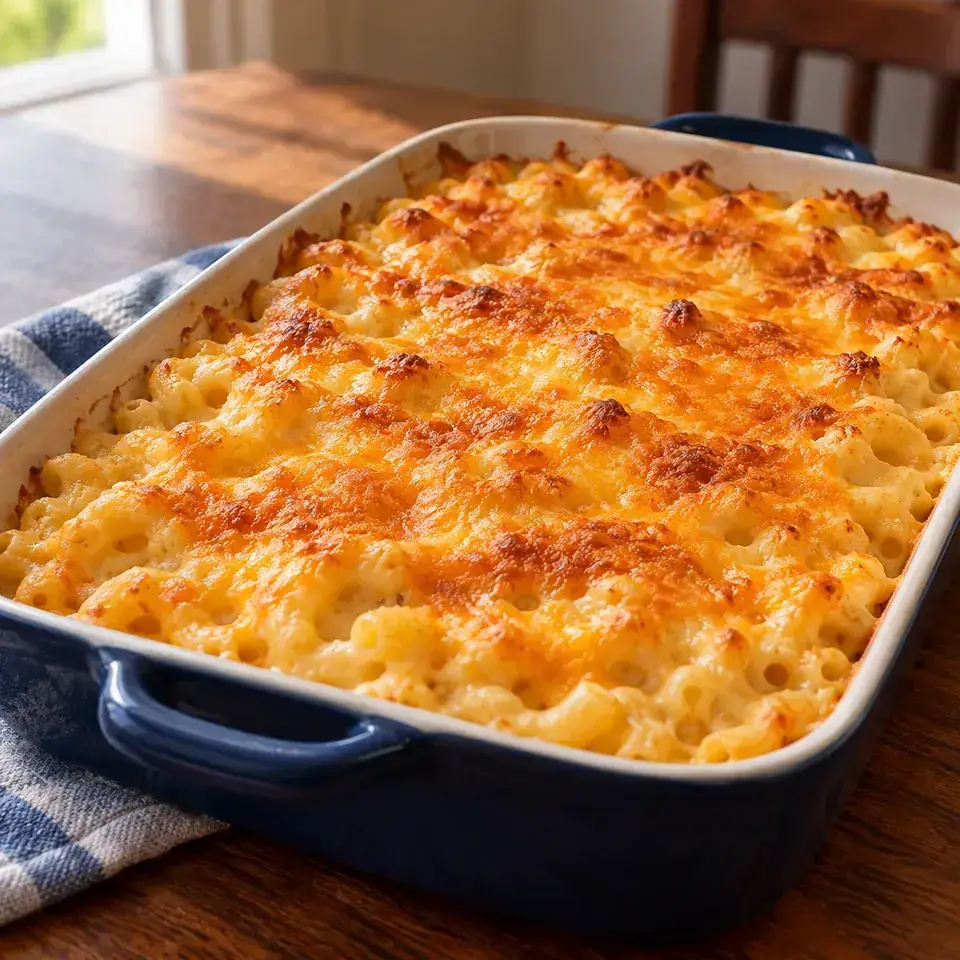
Baked Jalapeño Mac & Cheese brings together elbow macaroni, milk, and cream cheese. The method uses package directions for part of the cooking. The quick notes will help you get the small jobs lined up before you start.
- Prep
- 20 min
- Cook
- 20 min
- Total
- 40 min
- Original yield
- Serves 4
- Ingredients
- 11 listed
Make it part of your week
Recipe categories & planning details
- Meal type
- Main course
- Primary protein
- Pork
- Cuisine
- American
- Cooking method
- Baked & roasted
- Preparation & total time
- Prep: 16–30 minutes · Total: 31–60 minutes
- Dish type
- Pasta
A few quick notes
1. Keep the package nearby
The method uses package directions for part of the cooking. Read those before choosing your start time, especially if you have a different brand or package size.
2. Have the finishing ingredients ready
Some of the finishing happens after the pan comes off the heat. Have those ingredients ready and follow that order, rather than adding everything at the beginning.
3. Get the oven ready first
Start with the oven-preheating step in the recipe. Then use the preparation steps that follow to get the food ready for the hot oven.
Get to know the ingredients
Elbow macaroni
Look at how this ingredient comes into the method: Cook macaroni according to package directions, drain well.
Milk
Look at how this ingredient comes into the method: Slowly add milk a bit at a time whisking after each addition until smooth.
Cream cheese
Look at how this ingredient comes into the method: Once all of the milk is whisked in, add cream cheese, salt, and garlic powder and whisk until smooth.
Let’s make it
Choose your servings, then check things off as you go.
Original recipe: Serves 4. Original quantities shown.
Check ingredients as you prepare them. These checks stay on this page.
How to make it
0 of 7 steps completeMake room for Baked Jalapeño Mac & Cheese
Review ingredients in your pantry before anything is added. Meal plans use your household size; grocery-only additions use the servings selected above.
The last little job
Keep the last little job in mind
The recipe finishes with this step: Bake 15-20 minutes or just until crumbs are golden. Set out what you need for that finish before the cooking gets busy.
A little more help as you go
Keep the first boil and the next step together
Read what happens once the mixture comes to a boil. Have the next ingredient or heat adjustment ready, and continue with the sequence the recipe gives.
Set out the finishing ingredient
Keep the finishing ingredient within reach while the main preparation is going on. Add it at the step in the method so the last job is easy to complete.
Have the whisking step ready
Set out the ingredients for the whisking step together. Follow that part of the preparation before moving to the next cooking or mixing stage.
A few questions you might have
What should I get ready before starting?
Set out the oven, saucepan, and baking dish. Read the first preparation step before you get going: Preheat the oven to 400°F.
Which little step is worth remembering?
The method uses package directions for part of the cooking. Read those before choosing your start time, especially if you have a different brand or package size.
What check should I look for as it cooks?
Keep this part of the method in view: Bake 15-20 minutes or just until crumbs are golden.
Is there another preparation step to plan for?
Read what happens once the mixture comes to a boil. Have the next ingredient or heat adjustment ready, and continue with the sequence the recipe gives.
Storage & reheating safety
For cooked, perishable leftovers, refrigerate within 2 hours (1 hour above 90°F), using shallow containers for prompt cooling. Keep the refrigerator at 40°F or below, use refrigerated leftovers within 3–4 days, and reheat hot leftovers to 165°F, checked with a food thermometer. Follow any shorter package limit.
These are general safety limits, not a tested storage or freezing recommendation for this particular dish. USDA leftovers guidance · Safe cooking temperatures
Recipe source: Spend With Pennies. Ingredient names and quantities may be adapted for the pantry.
Preparation notes follow the recipe shown here.
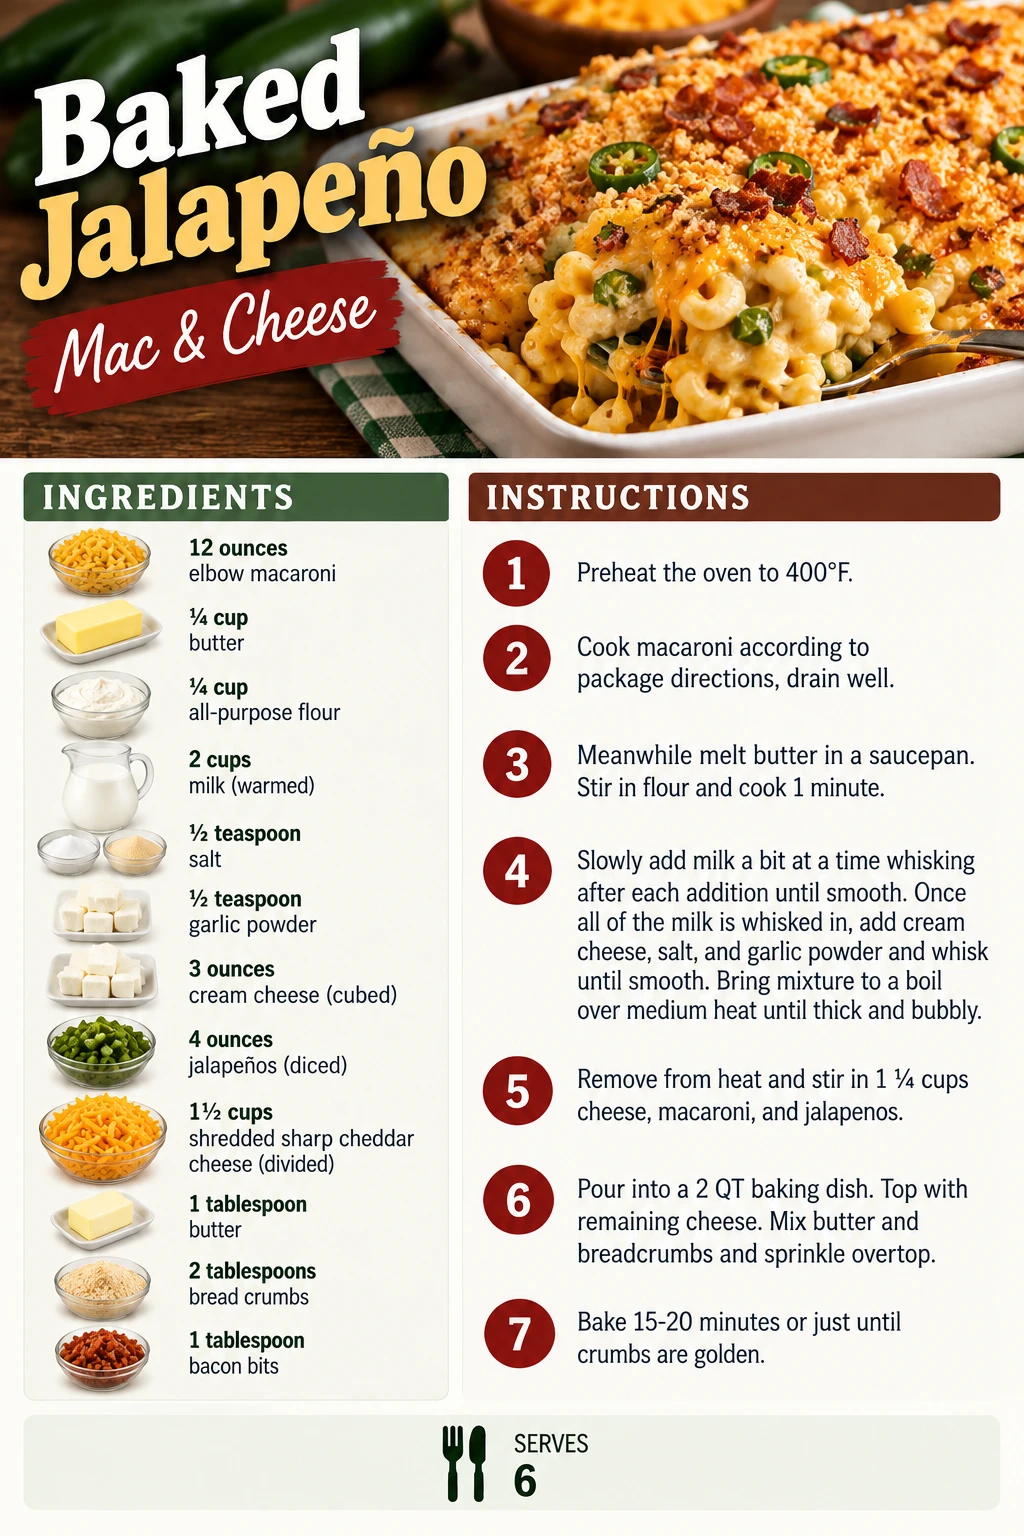
View saved recipe card
Fixed portions in this saved image. Use the recipe above for current ingredients and serving amounts.
Open full-size card ↗