Kitchen notes · a little help before you start
Oven Fried Chicken (Super Crispy!) Recipe
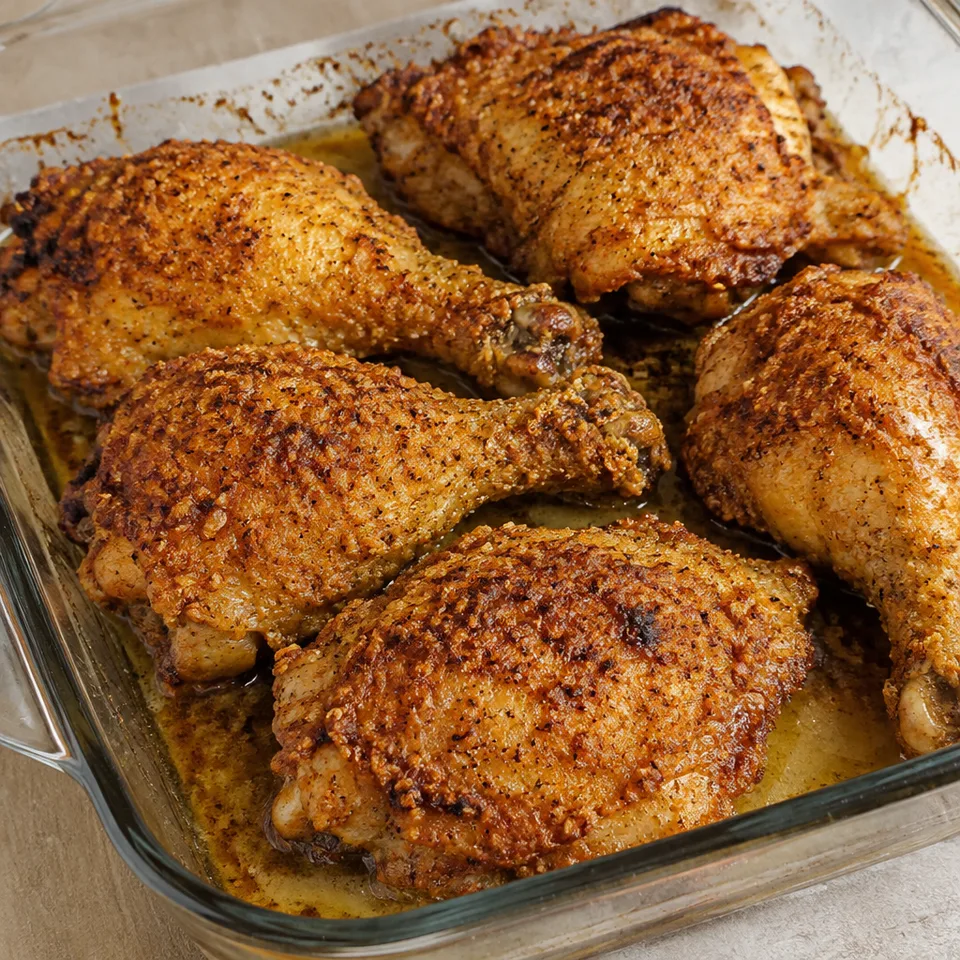
Crisp chicken skin is a pretty convincing reason to gather around the table. These pieces have a savory coating you'll want to keep on every bite, with tender meat underneath. It's a good dinner for eating with your hands if you feel like putting the cutlery aside.
- Prep
- 10 min
- Cook
- 40 min
- Total
- 50 min
- Original yield
- Serves 6
- Ingredients
- 7 listed
Make it part of your week
Recipe categories & planning details
- Meal type
- Dinner
- Primary protein
- Chicken
- Cuisine
- American
- Cooking method
- Baking · Baked & roasted
- Preparation & total time
- Prep: 15 minutes or less · Total: 31–60 minutes
A few quick notes
1. Heat the pan with the butter
Put the butter in the baking pan while the oven heats, just as directed. The chicken needs to land in melted butter, so the coating can start crisping as soon as it hits the pan.
2. Coat it generously
Press the Bisquick mixture onto the chicken pieces so they’re well covered before they go into the pan. Any bare patches won’t get that same crisp, seasoned finish.
3. Start skin side down
The first bake happens with the skin against the butter. That’s the bit that needs the most contact, and it sets you up for a crisp top after the chicken is turned.
Get to know the ingredients
Use bone-in, skin-on pieces
The recipe is built around chicken legs and thighs with the skin left on. The skin is what you’re protecting when you turn the pieces near the end, so don’t remove it first.
Bisquick is the coating
The dry coating starts with Bisquick, then gets seasoned before the chicken goes in. Mix the seasonings through it first so every piece gets the paprika, garlic salt and pepper evenly.
Garlic salt seasons the mix
Because garlic salt is part of the dry mixture, it seasons the coating rather than the pan. Stir it in with the Bisquick before coating the chicken, instead of sprinkling it on later.
Let’s make it
Choose your servings, then check things off as you go.
Original recipe: Serves 6. Original quantities shown.
Check ingredients as you prepare them. These checks stay on this page.
How to make it
0 of 4 steps completeMake room for Oven Fried Chicken (Super Crispy!) Recipe
Review ingredients in your pantry before anything is added. Meal plans use your household size; grocery-only additions use the servings selected above.
The last little job
Turn gently for the last bake
The last little job is turning the chicken without pulling off the skin. Use a careful hand, then give it the final bake so the other side can finish in the butter too.
A little more help as you go
Use the pan size given
An 8x8 baking pan keeps the butter gathered around the chicken pieces. Since the pieces bake directly in that butter, the pan size matters for how they sit and crisp.
The oven does both parts
After the chicken goes into the butter, it bakes first skin side down, then again after turning. Keep that order, since the timing is split around the turn.
A few questions you might have
Do I mix the Bisquick coating once or twice?
Just mix it once with the paprika, garlic salt and pepper. The directions mention the same mixing step twice, but the chicken only needs one bowl of seasoned Bisquick before coating.
Should the chicken go in skin side up or down first?
Start it skin side down in the melted butter. After the first bake, turn the pieces carefully for the final bake.
Why do I need to be careful when turning it?
The coating and skin can stick or tear if you rush the turn. The recipe specifically says to take care not to tear the skin, so loosen each piece gently before flipping.
Can I use skinless chicken for this?
Use bone-in, skin-on legs and thighs, keeping the skin intact through the final step.
Where does the butter go?
Put the butter directly in the 8x8 baking pan while the oven preheats. The coated chicken is placed into that melted butter before baking.
Storage & reheating safety
For cooked, perishable leftovers, refrigerate within 2 hours (1 hour above 90°F), using shallow containers for prompt cooling. Keep the refrigerator at 40°F or below, use refrigerated leftovers within 3–4 days, and reheat hot leftovers to 165°F, checked with a food thermometer. Follow any shorter package limit.
These are general safety limits, not a tested storage or freezing recommendation for this particular dish. USDA leftovers guidance · Safe cooking temperatures
Recipe source: dinnerthendessert.com. Ingredient names and quantities may be adapted for the pantry.
Preparation notes follow the recipe shown here.