Kitchen notes · a little help before you start
Manju
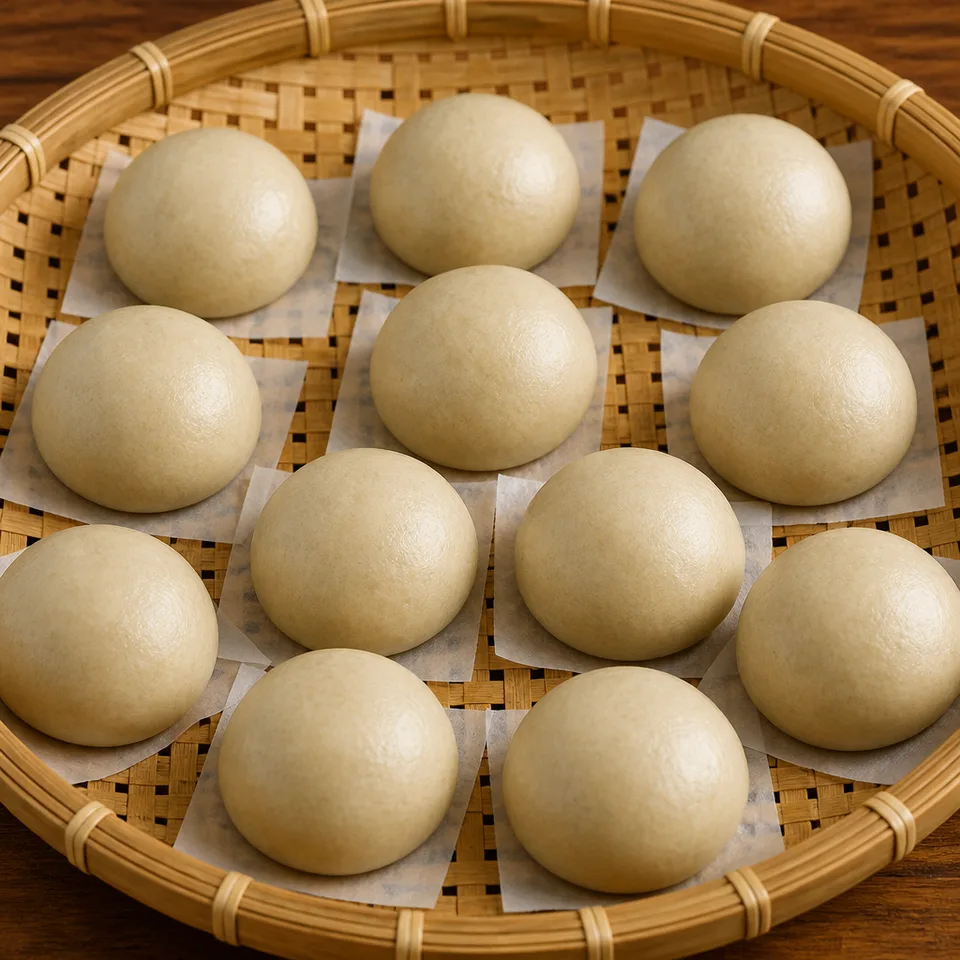
Manju is made with sweet red bean paste, baking powder, and cake flour.
- Prep
- 60 min
- Cook
- 10 min
- Total
- 70 min
- Original yield
- Serves 12
- Ingredients
- 6 listed
Make it part of your week
Recipe categories & planning details
- Meal type
- Desserts · Snacks · Appetizers & snacks
- Cuisine
- Japanese · Asian
- Preparation & total time
- Prep: over 30 minutes · Total: over 60 minutes
A few quick notes
1. Prepare the thickener
Mix and add the thickener at the steps specified.
2. Check when to cover
Follow the covered and uncovered stages in their stated order.
3. Prepare the first additions
Set out the ingredients needed for the first cooking step.
Get to know the ingredients
brown sugar (packed)
In the method: In a small saucepan, add 3 Tbsp water and ½ cup brown sugar.
baking powder
In the method: Combine ½ tsp baking powder and ½ tsp water.
water (for mixing with baking powder)
In the method: In a small saucepan, add 3 Tbsp water and ½ cup brown sugar.
Let’s make it
Choose your servings, then check things off as you go.
Original recipe: Serves 12. Original quantities shown.
Check ingredients as you prepare them. These checks stay on this page.
Ingredient note
Source: ½ cup brown sugar (packed)Ingredient note
Source: 3 Tbsp waterIngredient note
Source: ½ tsp baking powderIngredient note
Source: ½ tsp water (for mixing with baking powder)Ingredient note
Source: 1 cup cake flour (plus more for dusting)Ingredient note
Source: 8.5 oz sweet red bean paste (anko) (I used koshian fine paste)
How to make it
0 of 19 steps completeMake room for Manju
Review ingredients in your pantry before anything is added. Meal plans use your household size; grocery-only additions use the servings selected above.
The last little job
Finish as directed
If you microwave it (cover with a damp paper towel), you have to eat it immediately, otherwise, the texture gets hard quickly.
A little more help as you go
Allow for cooling
Include the cooling stage before the next step.
Match the cuts in the method
Use the chopping, slicing or cutting preparation specified.
Prepare for the next step
Have the next addition ready when the mixture reaches the boil described.
A few questions you might have
What should I prepare first?
Set out the saucepan and pot. Start with this step: Gather all the ingredients.
Which preparation step should I plan for?
Mix and add the thickener at the steps specified.
What happens at the end?
If you microwave it (cover with a damp paper towel), you have to eat it immediately, otherwise, the texture gets hard quickly.
Is there another preparation step to plan for?
Include the cooling stage before the next step.
Additional recipe notes
Cake Flour : If you don’t have cake flour, you can substitute with all-purpose flour and corn starch. Here’s how. Prepare 1 cup all purpose flour in the bowl. Remove 2 Tbsp from the bowl. Add 2 Tbsp corn starch back to the bowl. Now you have 1 cup cake flour. Be sure to sift the flour to distribute the cornstarch well before using it in your cake batter. Recipe by Namiko Chen of Just One Cookbook . All images and content on this site are copyright protected. Please do not use my images without my permission. If you’d like to share this recipe on your site, please re-write the recipe in your own words and link to this post as the original source. Thank you.
Storage & reheating safety
For cooked, perishable leftovers, refrigerate within 2 hours (1 hour above 90°F), using shallow containers for prompt cooling. Keep the refrigerator at 40°F or below, use refrigerated leftovers within 3–4 days, and reheat hot leftovers to 165°F, checked with a food thermometer. Follow any shorter package limit.
These are general safety limits, not a tested storage or freezing recommendation for this particular dish. USDA leftovers guidance · Safe cooking temperatures
Recipe source: justonecookbook.com. Ingredient names and quantities may be adapted for the pantry.
Preparation notes follow the recipe shown here.