Kitchen notes · a little help before you start
Crispy Baked Tilapia
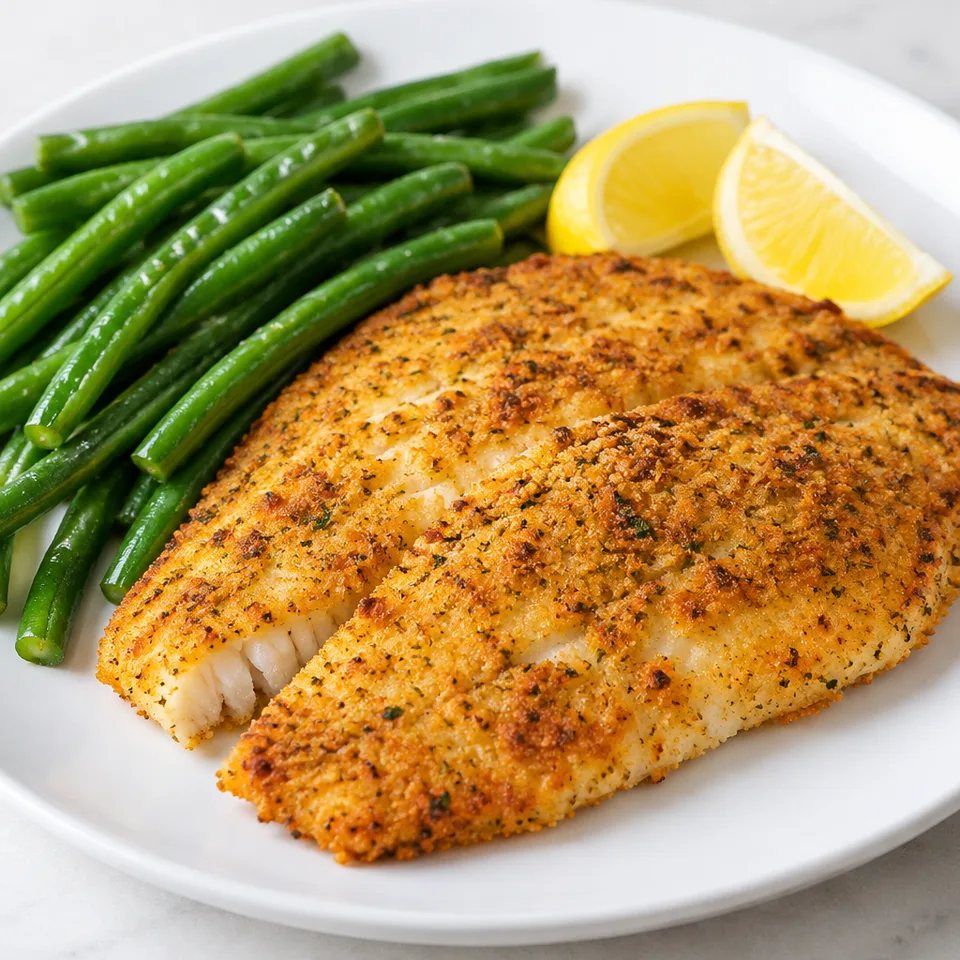
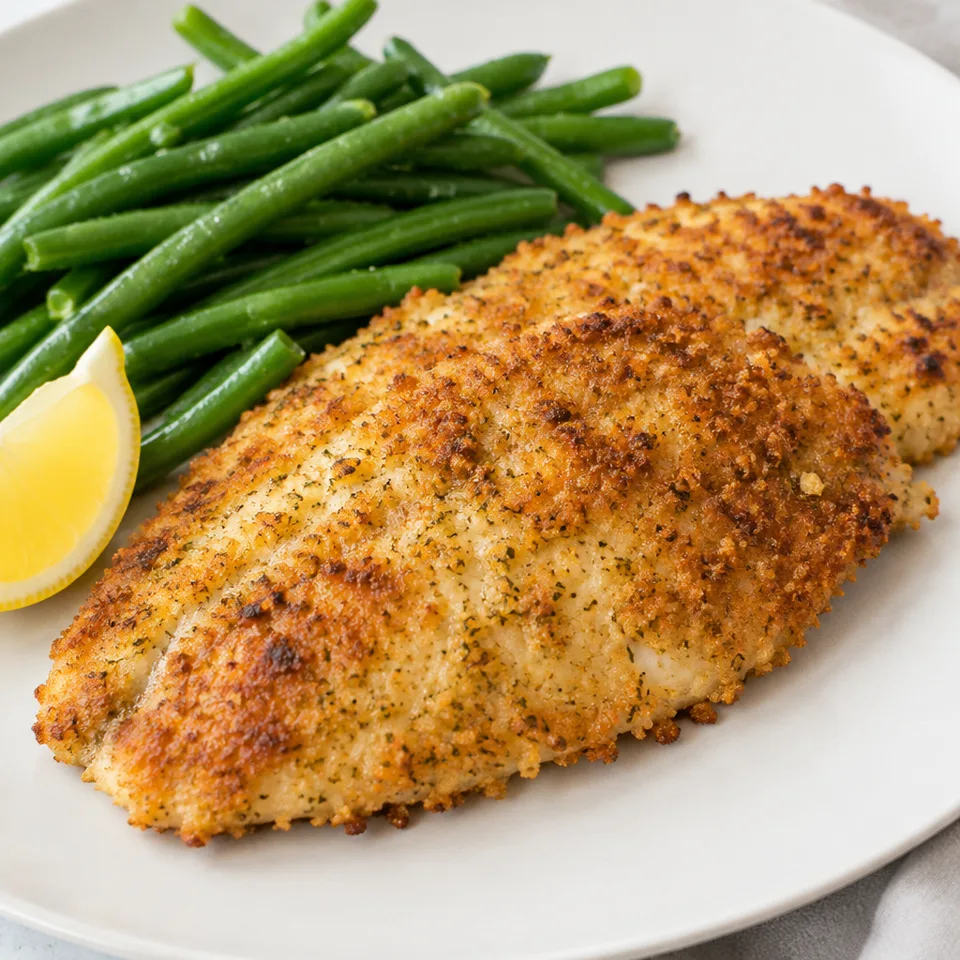
A crisp Parmesan crumb topping gives this mild fish a lovely savory edge. The tilapia flakes underneath, with herbs and a little paprika through the coating. It's an inviting plate when you'd like the comfort of breaded fish with a golden oven finish.
- Prep
- 10 min
- Cook
- 12 min
- Total
- 22 min
- Original yield
- Serves 4
- Ingredients
- 13 listed
Make it part of your week
Recipe categories & planning details
- Meal type
- Main course
- Primary protein
- Fish
- Cuisine
- American
- Cooking method
- Baking · Baked & roasted
- Preparation & total time
- Prep: 15 minutes or less · Total: 30 minutes or less
A few quick notes
1. Remove surface moisture
Pat the tilapia dry before using the milk-and-egg coating.
2. Press crumbs onto both sides
Dip the fish into the wet mixture, then press it firmly into the prepared coating.
3. Prepare the parchment
Brush the parchment-lined baking sheet with oil before laying the coated fish on it.
Get to know the ingredients
Milk or buttermilk
Either listed option is whisked with the egg for the wet coating.
Breadcrumb options
Seasoned panko or fine breadcrumbs are both allowed in the coating.
Parmesan
Mix the freshly grated cheese with flour, crumbs and seasonings before breading the fish.
Let’s make it
Choose your servings, then check things off as you go.
Original recipe: Serves 4. Original quantities shown.
Check ingredients as you prepare them. These checks stay on this page.
How to make it
0 of 8 steps completeMake room for Crispy Baked Tilapia
Review ingredients in your pantry before anything is added. Meal plans use your household size; grocery-only additions use the servings selected above.
The last little job
Check inside and outside
Finish at the stated internal temperature with a lightly browned, crisp crust; broil briefly if desired.
A little more help as you go
Oil spray over the coating
Spray the tops of the coated fish as directed before baking.
An optional browner finish
The directions allow a brief broil after baking if you'd like a darker crust.
A few questions you might have
Should I dry the fish before dipping?
Yes, pat it dry to remove excess moisture before the wet coating.
Can I use buttermilk instead of milk?
Yes, that alternative is listed for whisking with the egg.
Where does the flour go?
Mix it into the dry coating with breadcrumbs, Parmesan and seasonings.
Can I brown the crust more?
A brief broil is allowed after the baking stage if desired.
Is the Parmesan a finishing sprinkle?
It goes into the crumb mixture before the fish is coated and baked.
Any more cooking tips?
Tips: Pat it dry. Use a paper towel to pat the tilapia dry before breading it. Removing excess moisture helps the breading get nice and crispy. Spray with oil. I like to spray the tops of the fish with spray oil or non-stick spray. This creates that delicious golden-brown color. Broil. If the crust isn’t quite browned to your liking after baking, turn the broiler on for a couple of minutes to brown it even more. Storage: Baked tilapia will last in an airtight container in the fridge for 3-4 days or in the freezer for 2-3 months. To reheat, thaw in the fridge if frozen, then reheat at 200ºF for 10-15 minutes or until warmed through and re-crisped.
Storage & reheating safety
For cooked, perishable leftovers, refrigerate within 2 hours (1 hour above 90°F), using shallow containers for prompt cooling. Keep the refrigerator at 40°F or below, use refrigerated leftovers within 3–4 days, and reheat hot leftovers to 165°F, checked with a food thermometer. Follow any shorter package limit.
These are general safety limits, not a tested storage or freezing recommendation for this particular dish. USDA leftovers guidance · Safe cooking temperatures
Recipe source: thereciperebel.com. Ingredient names and quantities may be adapted for the pantry.
Preparation notes follow the recipe shown here.