Kitchen notes · a little help before you start
Instant Pot Baked Ziti
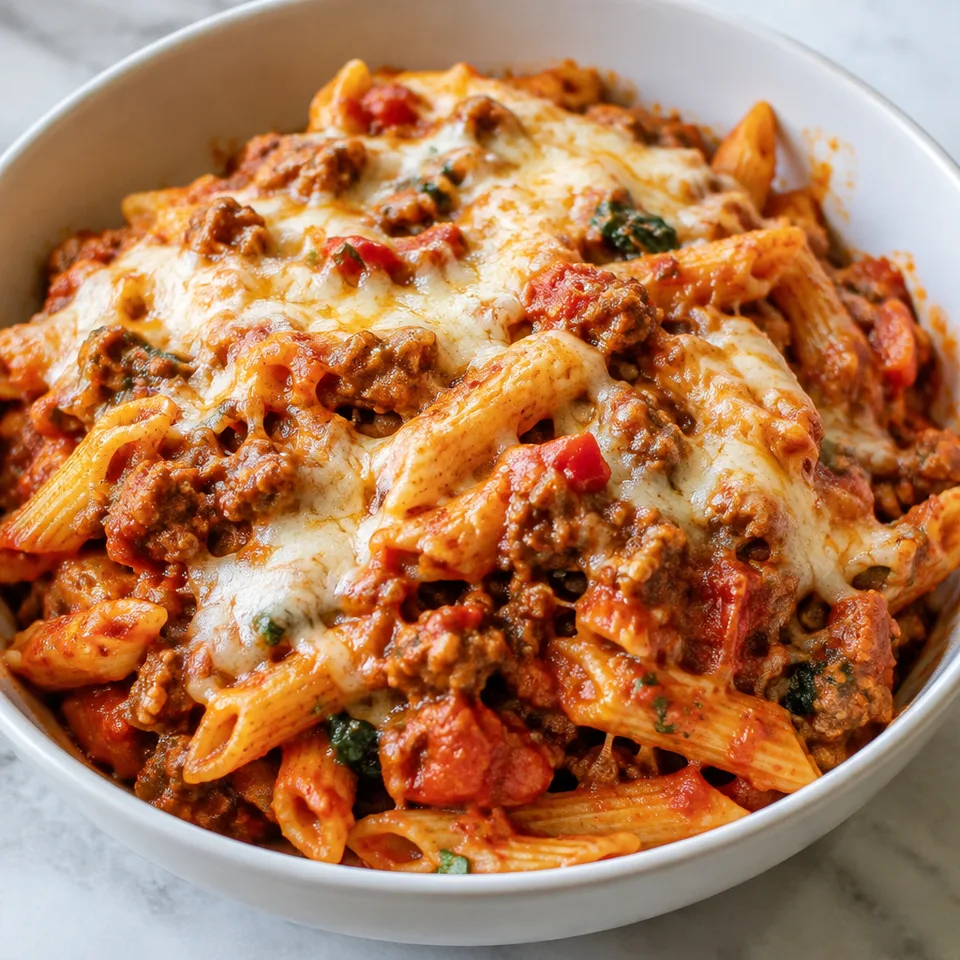
Some evenings call for a big spoonful of saucy pasta with melted cheese stretched across the top. This ziti answers that craving nicely. It's familiar, hearty food you can serve straight from the pot, with plenty of the red-sauce flavor that makes baked pasta so hard to pass up.
- Prep
- 15 min
- Cook
- 8 min
- Total
- 43 min
- Original yield
- Serves 6
- Ingredients
- 15 listed
Make it part of your week
Recipe categories & planning details
- Meal type
- Main course
- Primary protein
- Beef
- Cuisine
- American
- Cooking method
- Pressure cooker
- Preparation & total time
- Prep: 15 minutes or less · Total: 31–60 minutes
- Dish type
- Pasta
A few quick notes
1. Scrape the pot well
After the broth or water goes in, take a moment to loosen every browned bit from the bottom. That little scrape helps keep the Instant Pot from flashing the burn message later.
2. Layer, then leave it alone
Once the tomatoes go on, keep building the layers without stirring. Press the pasta down so it's mostly submerged, then cover it with sauce as evenly as you can.
3. Release the pressure gently
After the short cook time, let the pot sit for a couple of minutes, then ease the valve open slowly. A controlled release is the goal here, not a sudden blast.
Get to know the ingredients
Use uncooked pasta
Use the listed uncooked ziti or penne, pressing it down into the liquid as directed.
Broth or water both work
Low sodium chicken broth, beef broth, or water is used to loosen the browned bits and give the pasta liquid to cook in. Stir well at this point, before the no-stir layers begin.
Spinach goes in before layering
Finely chopped fresh spinach gets stirred into the beef mixture before the tomatoes and pasta are added. That helps it settle into the sauce instead of clumping on top.
Let’s make it
Choose your servings, then check things off as you go.
Original recipe: Serves 6. Original quantities shown.
Check ingredients as you prepare them. These checks stay on this page.
How to make it
0 of 12 steps completeMake room for Instant Pot Baked Ziti
Review ingredients in your pantry before anything is added. Meal plans use your household size; grocery-only additions use the servings selected above.
The last little job
The last little job
Give the ziti a good stir before adding the cheese, since much of the liquid will still be at the bottom. Then scatter on the mozzarella, pop the lid back on, and let it melt for a minute or two.
A little more help as you go
About the pot size
A 6-quart Instant Pot is the tested size, though the recipe should work in other Instant Pots too. Keep that size in mind when judging your own cooker.
Browning comes first
Cook the beef, onion, and red pepper on saute until the beef is browned all the way through before adding the seasonings. The pressure cook is very short, so don't rush this part.
A few questions you might have
Why shouldn't I stir after adding the diced tomatoes?
Keeping the tomatoes, pasta, and sauce layered helps avoid the burn message. You'll stir everything together after cooking, when the liquid has settled at the bottom of the pot.
Can I use penne instead of ziti?
Yes. Use ziti or penne, and either one goes in uncooked on top of the tomato layer.
What does 'controlled release' mean here?
After a couple of minutes of natural release, hold the valve just slightly open so the pressure comes out slowly. Once the pin drops, open the valve fully and remove the lid.
Why does it look liquidy when I open the pot?
That's expected. Most of the liquid is still sitting at the bottom, so stir the ziti well before adding the mozzarella.
When do I add the mozzarella?
Add it after the pasta has cooked and been stirred. Put the lid back on for 1 to 2 minutes, just long enough for the cheese to melt.
Any more cooking tips?
This recipe has been tested in a 6 quart Instant Pot but should work in any. *One serving is roughly 1 ¼ cups.
Storage & reheating safety
For cooked, perishable leftovers, refrigerate within 2 hours (1 hour above 90°F), using shallow containers for prompt cooling. Keep the refrigerator at 40°F or below, use refrigerated leftovers within 3–4 days, and reheat hot leftovers to 165°F, checked with a food thermometer. Follow any shorter package limit.
These are general safety limits, not a tested storage or freezing recommendation for this particular dish. USDA leftovers guidance · Safe cooking temperatures
Recipe source: thereciperebel.com. Ingredient names and quantities may be adapted for the pantry.
Preparation notes follow the recipe shown here.