Kitchen notes · a little help before you start
No Bake Lemon Cheesecake Cups
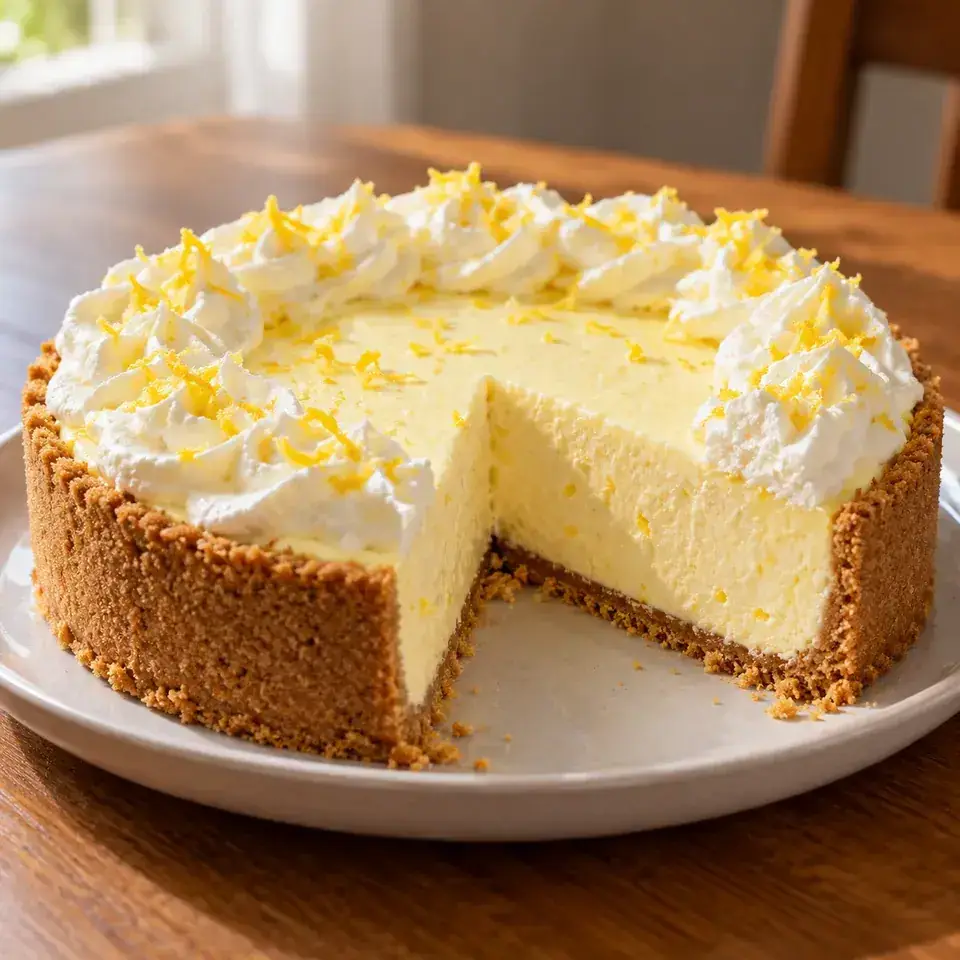
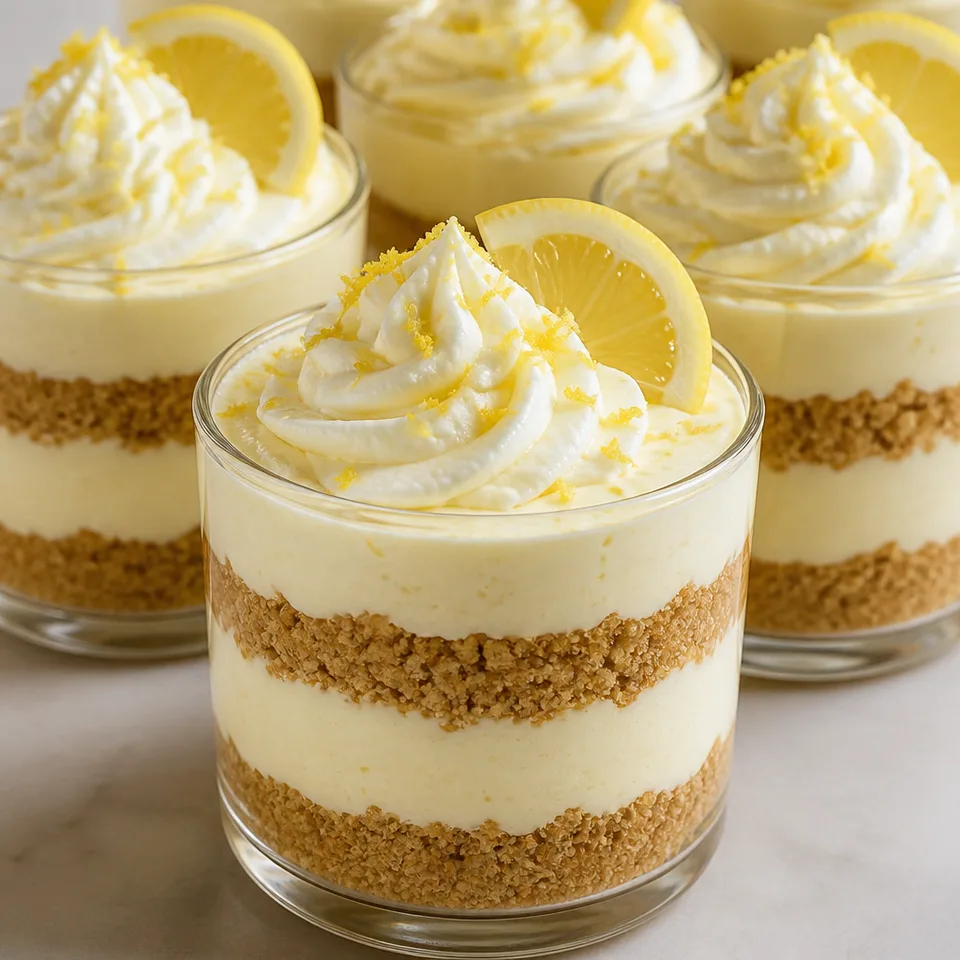
No Bake Lemon Cheesecake Cups is made with lemon juice, lemon zest, and graham cracker crumbs.
- Prep
- 15 min
- Total
- 135 min
- Original yield
- Serves 8
- Ingredients
- 7 listed
Make it part of your week
Recipe categories & planning details
- Meal type
- Desserts
- Preparation & total time
- Prep: 15 minutes or less · Total: over 60 minutes
A few quick notes
1. Fold at the stated step
Keep the folding step in the mixing sequence.
2. Prepare the finishing addition
Have the final topping or garnish ready for its specified step.
Get to know the ingredients
graham cracker crumbs
In the method: In a small mixing bowl, combine the graham cracker crumbs, melted butter, and granulated sugar.
granulated sugar
In the method: In a small mixing bowl, combine the graham cracker crumbs, melted butter, and granulated sugar.
unsalted butter (melted)
In the method: In a small mixing bowl, combine the graham cracker crumbs, melted butter, and granulated sugar.
Let’s make it
Choose your servings, then check things off as you go.
Original recipe: Serves 8. Original quantities shown.
Check ingredients as you prepare them. These checks stay on this page.
Ingredient note
Source: 2 cups graham cracker crumbsIngredient note
Source: 1/2 cup granulated sugar; Source: 2/3 cup granulated sugarIngredient note
Source: 1/2 cup unsalted butter (melted)Ingredient note
Source: 8 ounces brick style cream cheese (softened to room temperature)Ingredient note
Source: 1/4 cup lemon juiceIngredient note
Source: 1 Tablespoon lemon zestIngredient note
Source: 8 ounces container frozen whipped topping (thawed)
How to make it
0 of 4 steps completeMake room for No Bake Lemon Cheesecake Cups
Review ingredients in your pantry before anything is added. Meal plans use your household size; grocery-only additions use the servings selected above.
The last little job
Finish as directed
If desired, you can garnish each cup with extra whipped cream, lemon zest, and lemon slices.
A few questions you might have
What should I prepare first?
Start with this step: In a small mixing bowl, combine the graham cracker crumbs, melted butter, and granulated sugar.
Which preparation step should I plan for?
Keep the folding step in the mixing sequence.
What happens at the end?
If desired, you can garnish each cup with extra whipped cream, lemon zest, and lemon slices.
How do I plan the ingredient amounts?
This version serves 8. Use the ingredient amounts listed for that yield. If you change the number of portions, check equipment and the full method as well as the shopping quantities.
Additional recipe notes
Use a food processor to crush the graham crackers. You will need about 18 full sheets of graham crackers to make 2 cups of crumbs. Use store-bought graham cracker crumbs and bottled lemon juice for a time saver. Homemade always has the best flavor, but pre-made crumbs and bottled juice will totally work in a pinch! For a lighter lemon cheesecake recipe , you can use light cream cheese and light whipped topping. Toppings: I like to top my mini lemon cheesecakes with whipped cream (I added some whipped cream to a piping bag for the ones in the photos) and a sprinkle of lemon zest and lemon slices. You could also add a bit of graham cracker crumbs to the top. These Lemon Cheesecake Cups are freezer friendly. Prepare as instructed using freezer safe containers, then cover the cups tightly with both plastic wrap and aluminum foil. Freeze for up to 3 months. Thaw the cups in the refrigerator before serving. What kind of cups to use: Feel free to use small glass cups, 1/2 pint mason jars, or plastic 9 oz cups to serve your no bake lemon cheesecake cups. To make a whole lemon cheesecake, make the crust and filling as directed. Press the crust mixture into the bottom and up the sides of a 9 inch pie plate. Chill the crust in the refrigerator for 30-45 minutes before adding the filling to help the crust set. Spread the filling over the prepared and chilled crust, then cover the cheesecake and chill in the refrigerator for at least two hours before serving.
Storage & reheating safety
For cooked, perishable leftovers, refrigerate within 2 hours (1 hour above 90°F), using shallow containers for prompt cooling. Keep the refrigerator at 40°F or below, use refrigerated leftovers within 3–4 days, and reheat hot leftovers to 165°F, checked with a food thermometer. Follow any shorter package limit.
These are general safety limits, not a tested storage or freezing recommendation for this particular dish. USDA leftovers guidance · Safe cooking temperatures
Recipe source: belleofthekitchen.com. Ingredient names and quantities may be adapted for the pantry.
Preparation notes follow the recipe shown here.