Kitchen notes · a little help before you start
Chicken Brine recipe
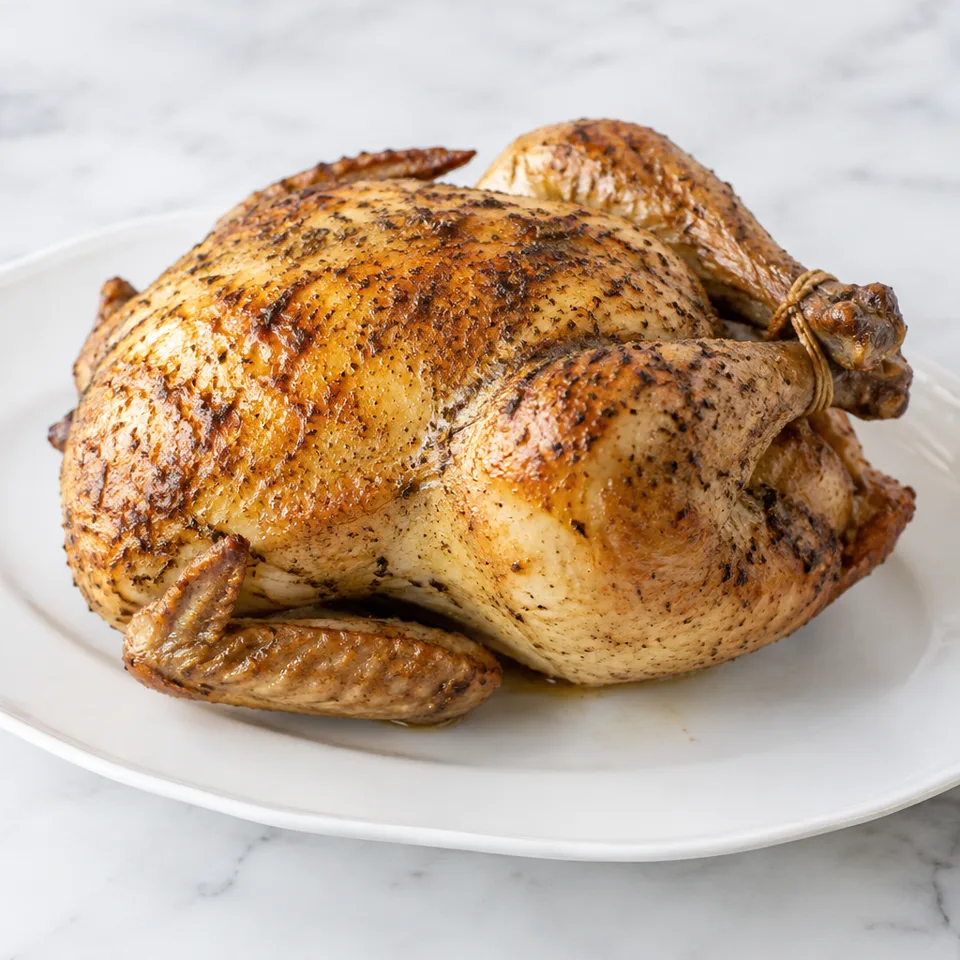
A roast chicken with crisp skin and a tender middle is a lovely dinner to look forward to. This brined chicken gets its savory flavor before it reaches the oven, with lemon and herbs in the background. Butter over the skin gives the roast a generous finishing touch.
- Prep
- 10 min
- Cook
- 60 min
- Total
- 1510 min
- Original yield
- Serves 4
- Ingredients
- 13 listed
Make it part of your week
Recipe categories & planning details
- Meal type
- Main course
- Primary protein
- Chicken
- Cuisine
- American · Canadian
- Cooking method
- Roasting · Baked & roasted
- Preparation & total time
- Prep: 15 minutes or less · Total: over 60 minutes
A few quick notes
1. Cool the brine completely
Add the chicken only after the brine is cool to room temperature or colder, as directed.
2. Refrigerate while brining
Cover the chicken in its pot and keep it in the refrigerator for the brining stage.
3. Dry after draining
Drain and pat the chicken dry before placing it on a roasting rack.
Get to know the ingredients
Kosher salt
Use the listed kosher salt amount, or the reduced amount listed for table salt.
Lemon wedges
Add the cut lemon to the brine with the garlic, herbs and peppercorns.
Melted butter
Brush it over the chicken before roasting, after brining and drying.
Let’s make it
Choose your servings, then check things off as you go.
Original recipe: Serves 4. Original quantities shown.
Check ingredients as you prepare them. These checks stay on this page.
How to make it
0 of 11 steps completeMake room for Chicken Brine recipe
Review ingredients in your pantry before anything is added. Meal plans use your household size; grocery-only additions use the servings selected above.
The last little job
Check, then rest
Use the stated internal-temperature check, then cover loosely and rest the chicken before slicing.
A little more help as you go
Optional refrigerator drying
The directions allow an uncovered refrigerator pause after brining to dry the skin further.
If the skin darkens quickly
Cover loosely with foil and continue cooking as directed if the skin darkens too early.
A few questions you might have
Can I put chicken into warm brine?
No, the directions specify brine cooled to room temperature or colder and not at all warm.
Does it brine on the counter?
Keep the covered chicken and brine in the refrigerator for that stage.
Can I use table salt?
Yes, but reduce the table salt to 1/4 cup because it measures differently from kosher salt.
Is the extra drying pause required?
No, the uncovered refrigerator drying stage is marked optional.
What if the skin browns before the chicken is ready?
Cover loosely with foil and continue cooking, then check the stated internal-temperature target.
Any more cooking tips?
If available to you, you can use fresh herbs like parsley, rosemary, sage, thyme, dill or a combination. I use Italian seasoning to keep this recipe simple and accessible. **Most of the salt in this recipe is not consumed, so the sodium amount in the nutrition information is out of whack. Do not be alarmed! Tips: Use kosher salt. Kosher salt and table salt measure differently. If you do use table salt, reduce the amount to ¼ cup. Cool the brine completely. The brine should be completely cooled to room temperature before you add the meat. You want the turkey and brine to be in the same temperature range. Fully submerge the chicken. Make sure the brine covers the chicken completely in the pot so the flavor is evenly distributed. If it’s not quite covered, you can add water until it is completely submerged. It may float a little, so make sure the breast is down. Dry the chicken. At the very least, be sure to gently pat dry the chicken after you remove it from the brine to get rid of excess moisture. If you have some extra time, set it in the fridge for 1-2 hours to dry it even more. The dryer the chicken, the crispier the skin! Roast at high temp. Some recipes use lower temperature but I’ve found that the crispiest, juiciest chicken comes from roasting at a higher temperature for a shorter cook time! Check the chicken after 45 minutes while it’s cooking. If the skin is too dark, cover with foil so it doesn’t burn and continue cooking. Let it rest. After the chicken is cooked, let it rest for at least 15 minutes before slicing into it so the moisture and flavor can redistribute. Storage: To store the leftover roast chicken, slice it into smaller pieces then place it into an airtight container. It can be stored in the fridge for 3-4 days or in the freezer for 2-3 months. To reheat, thaw in the fridge if frozen then microwave or warm in the oven until heated through.
Storage & reheating safety
For cooked, perishable leftovers, refrigerate within 2 hours (1 hour above 90°F), using shallow containers for prompt cooling. Keep the refrigerator at 40°F or below, use refrigerated leftovers within 3–4 days, and reheat hot leftovers to 165°F, checked with a food thermometer. Follow any shorter package limit.
These are general safety limits, not a tested storage or freezing recommendation for this particular dish. USDA leftovers guidance · Safe cooking temperatures
Recipe source: thereciperebel.com. Ingredient names and quantities may be adapted for the pantry.
Preparation notes follow the recipe shown here.