Kitchen notes · a little help before you start
Meaty Lasagna Roll-Ups
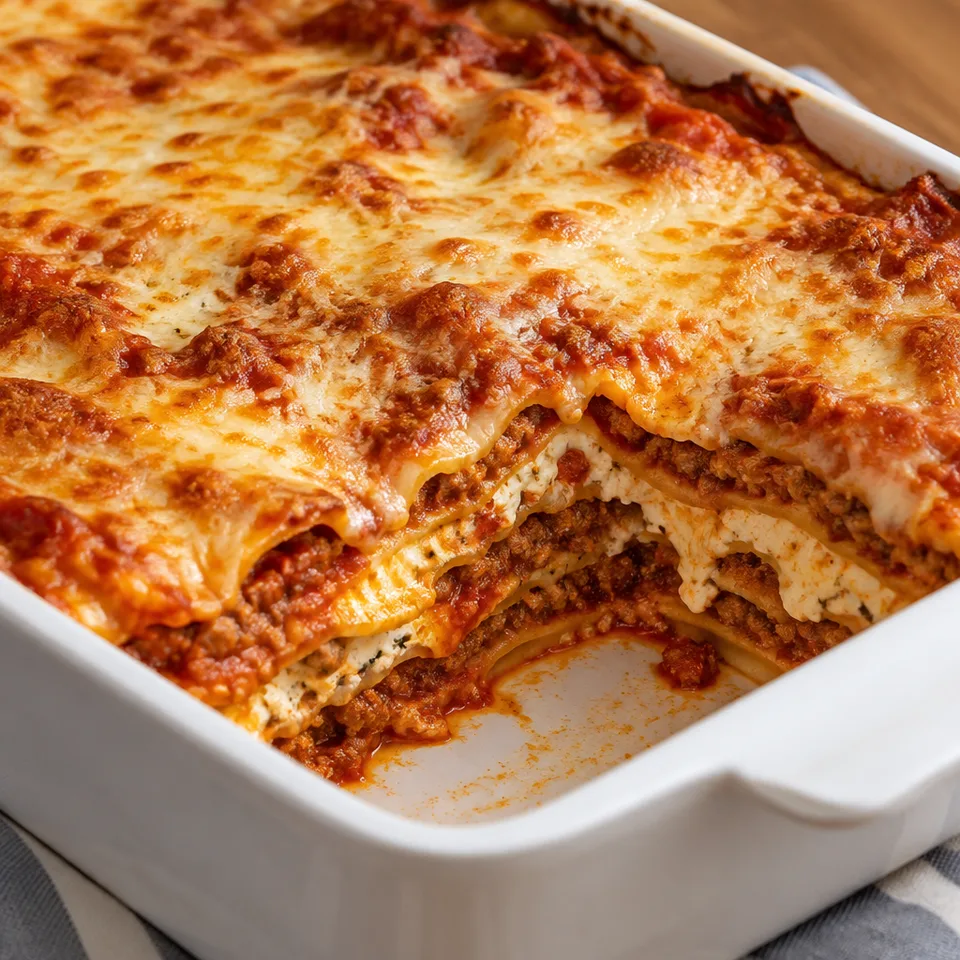
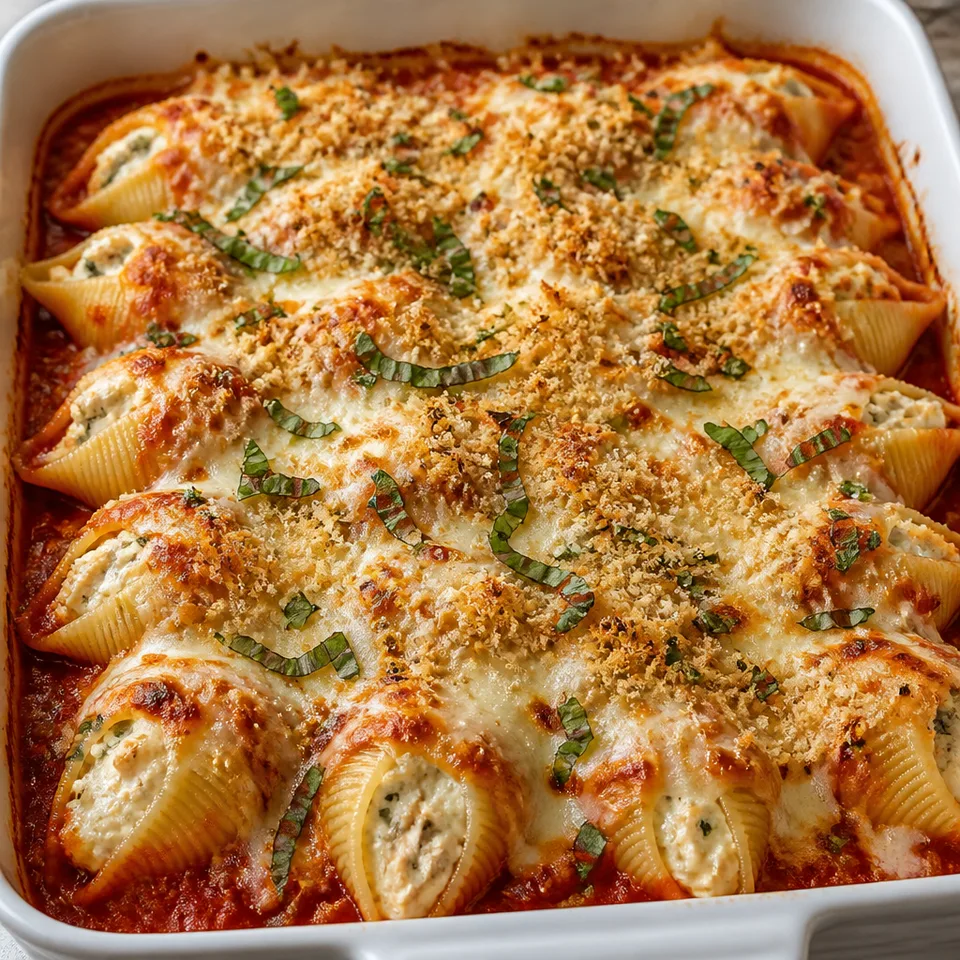
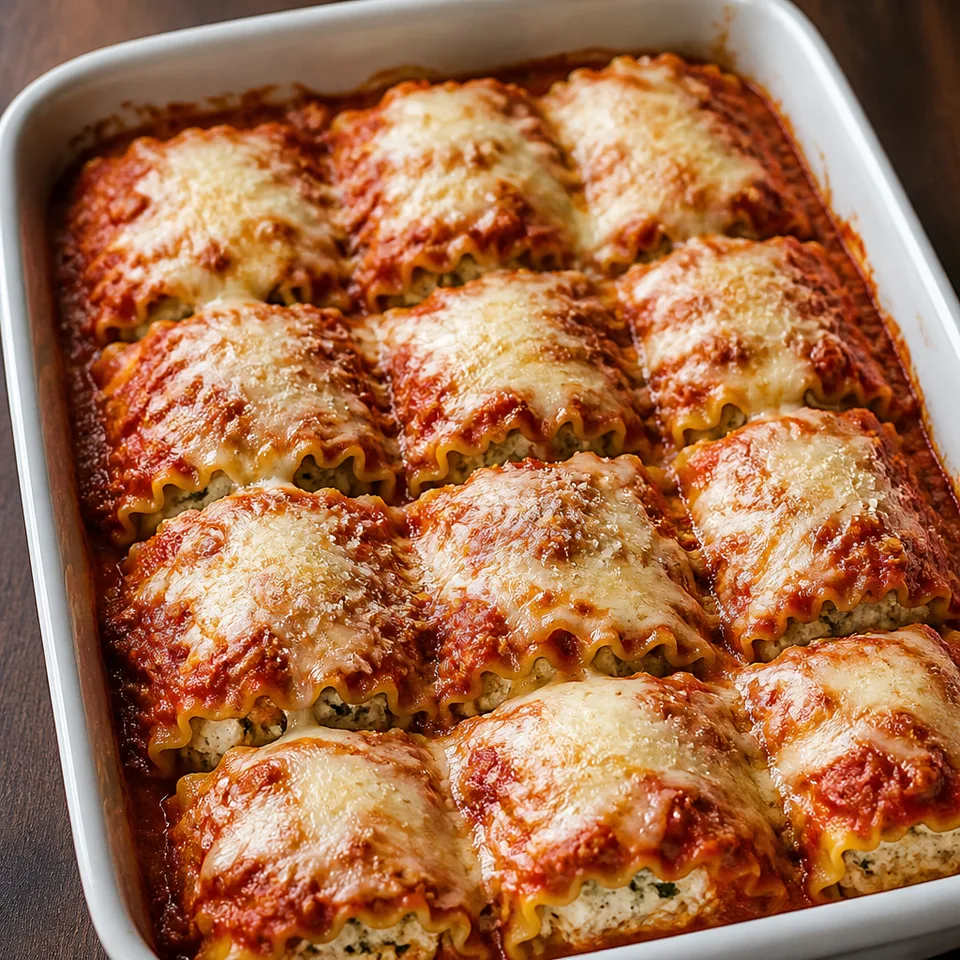
Lasagna roll-ups give each plate a generous pocket of ricotta and meaty tomato sauce. Melted mozzarella settles over the rolls, with basil making the filling especially inviting.
- Prep
- 15 min
- Cook
- 65 min
- Total
- 80 min
- Original yield
- Serves 12
- Ingredients
- 23 listed
Make it part of your week
Recipe categories & planning details
- Meal type
- Main course
- Primary protein
- Beef · Pork
- Cuisine
- Italian
- Cooking method
- Baking · Baked & roasted
- Preparation & total time
- Prep: 15 minutes or less · Total: over 60 minutes
- Dish type
- Pasta
A few quick notes
1. Drain grease before building sauce
Brown beef, pork, onion and garlic until no pink remains, then drain excess grease before stirring in tomato paste.
2. Cool noodles for handling
Rinse cooked lasagna noodles with cold water immediately and drain well before spreading filling along them.
3. Roll seam-side down
Use a spatula to move each filled noodle into the dish, setting it sideways with the seam underneath.
Get to know the ingredients
Lightly crushed fennel
Crush fennel seeds lightly before adding them to the meat sauce; try using the bottom of a spoon.
Ricotta mixture
Combine ricotta with egg, garlic, the first Parmesan portion, fresh basil and seasonings before spreading over the noodles.
Divided Parmesan
Some Parmesan goes into the filling; keep the remaining portion for the top with mozzarella before baking.
Let’s make it
Choose your servings, then check things off as you go.
Original recipe: Serves 12. Original quantities shown.
Check ingredients as you prepare them. These checks stay on this page.
How to make it
0 of 8 steps completeMake room for Meaty Lasagna Roll-Ups
Review ingredients in your pantry before anything is added. Meal plans use your household size; grocery-only additions use the servings selected above.
The last little job
Rest after the sauce bubbles
Finish the uncovered bake until sauce is bubbly, then let the roll-ups sit for five minutes before serving.
A little more help as you go
Spray the foil's inside
Coat the foil side facing the casserole with nonstick spray so melted cheese doesn't stick while baking.
Use a nonreactive sauce pot
Use a nonreactive surface for the tomato sauce, such as stainless steel or enameled cast iron.
A few questions you might have
Does sauce go inside the rolls as well?
Spread meat sauce over each noodle's ricotta layer before rolling, then spoon the remaining sauce over the assembled rolls.
Can I assemble the dish the night before?
Cover the assembled dish tightly with foil and refrigerate overnight. Let it sit on the counter for about fifteen minutes before baking; it may need more cooking time if still very cold.
Can I freeze the assembled roll-ups?
Use freezer-safe packaging for two to three months of frozen storage, then follow the thawed or frozen baking directions as needed.
Does the sauce simmer covered?
Reduce the boiled meat sauce to low and simmer uncovered while cooking the noodles, as directed.
When does mozzarella go in?
It tops the sauce-covered assembled rolls with the remaining Parmesan; the ricotta mixture has its own Parmesan portion.
Any more cooking tips?
Ingredient Notes Before adding fennel seed to sauce, place it on a cutting board and use the bottom of a spoon to lightly crush the seeds to release more fragrance and flavor. Canned San Marzano tomatoes are an excellent choice for sauce making. The plum style tomato is highly flavorful, sweet, and naturally less acidic than many other varieties. Authentic San Marzanos are grown in Italy and the cans will be marked as such. Equipment Notes It’s vital to use the correct pan when cooking with very acidic or alkaline foods like tomatoes as cooking in a reactive pan can cause the food to pick up a metallic flavor. Reactive (no-no) pans include aluminum, cast iron, and copper. Instead, opt for a non-reactive pan with a stainless steel or enameled cast iron cooking surface. Make-Ahead Instructions Assemble as instructed, cover dish tightly with foil, and refrigerate overnight. Allow to sit on kitchen counter for about 15 minutes to take the chill off before baking according to the recipe directions. Cooking time may need to be increased if very cold when going into the oven. Freezer Instructions Follow recipe as directed in a freezer safe dish and cover dish tightly with a double layer of foil. Freeze for up to 2 to 3 months. Allow to thaw overnight in refrigerator before baking as directed. To bake from frozen, increase baking time to 50 to 60 minutes covered and an additional 10 to 15 minutes, uncovered.
Storage & reheating safety
For cooked, perishable leftovers, refrigerate within 2 hours (1 hour above 90°F), using shallow containers for prompt cooling. Keep the refrigerator at 40°F or below, use refrigerated leftovers within 3–4 days, and reheat hot leftovers to 165°F, checked with a food thermometer. Follow any shorter package limit.
These are general safety limits, not a tested storage or freezing recommendation for this particular dish. USDA leftovers guidance · Safe cooking temperatures
Recipe source: fromvalerieskitchen.com. Ingredient names and quantities may be adapted for the pantry.
Preparation notes follow the recipe shown here.