Kitchen notes · a little help before you start
Yakiniku Don (Japanese Grilled Beef Bowl)
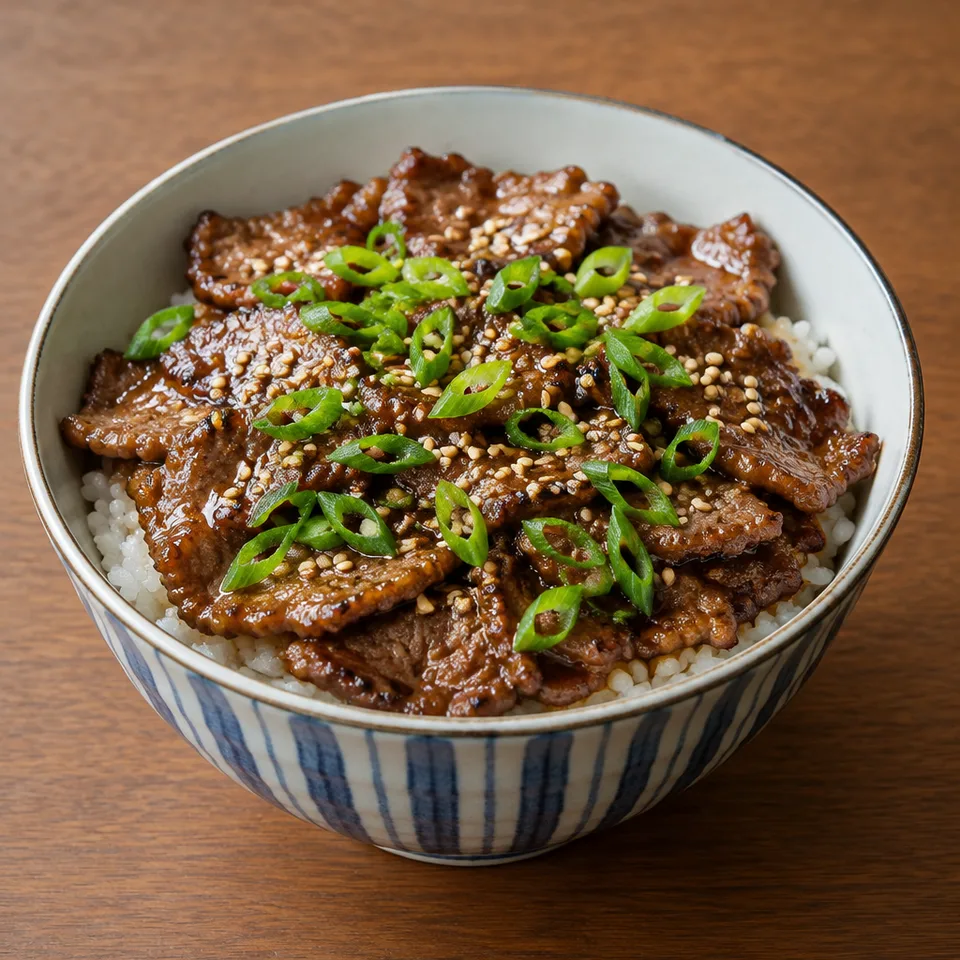
Hot rice with glossy beef over the top is a good reason to sit down hungry. The meat has browned edges and a savory sauce, with green onion keeping each bite fresh.
- Prep
- 5 min
- Cook
- 5 min
- Total
- 10 min
- Original yield
- Serves 2
- Ingredients
- 5 listed
Make it part of your week
Recipe categories & planning details
- Meal type
- Main course
- Primary protein
- Beef
- Cuisine
- Japanese · Asian
- Cooking method
- Grilling · Pressure cooker
- Preparation & total time
- Prep: 15 minutes or less · Total: 30 minutes or less
A few quick notes
1. Leave room between slices
Sear the beef in batches in a single layer, with space between pieces rather than crowding the hot pan.
2. Wait before the first flip
Leave the slices untouched until juices appear on top, then turn them and brown the other side.
3. Coat both sides in sauce
Return the seared beef and its juices to the pan, then flip the pieces through the yakiniku sauce.
Get to know the ingredients
Boneless short ribs
The recipe uses boneless beef short ribs; well-marbled pieces do not need a greased pan for the initial sear.
Cooked short-grain rice
Have the Japanese short-grain rice cooked for serving, then divide the hot rice into the individual large bowls.
Thin green onion slices
Slice the green onion thinly during preparation and keep it for topping the sauced beef over the rice.
Let’s make it
Choose your servings, then check things off as you go.
Original recipe: Serves 2. Original quantities shown.
Check ingredients as you prepare them. These checks stay on this page.
How to make it
0 of 11 steps completeMake room for Yakiniku Don (Japanese Grilled Beef Bowl)
Review ingredients in your pantry before anything is added. Meal plans use your household size; grocery-only additions use the servings selected above.
The last little job
Cover the rice with beef
Layer the sauced beef over the hot rice, then add the sliced green onion and toasted sesame seeds.
A little more help as you go
Clean the nonstick exception carefully
If the pan is not nonstick, wipe its cooking surface clean before the beef and juices return for saucing.
Leftovers have a stated limit
Store leftovers airtight in the refrigerator for three days or freeze up to a month, as the directions allow.
A few questions you might have
Must the yakiniku sauce be homemade?
Store-bought or homemade sauce are both listed. Either goes over the seared beef for the final coating stage.
When is the sauce coating finished?
Once the yakiniku sauce is bubbling and coats the meat well, the directions say it is done; avoid overcooking.
Do I cook every slice through in the first sear?
The initial stage browns both sides. The directions explain that the beef continues cooking afterward and again in the sauce.
What happens to juices on the beef plate?
Return them to the pan with the seared beef before pouring on the yakiniku sauce and coating the pieces.
How long can leftover sauce stay refrigerated?
The directions say to refrigerate any leftover yakiniku sauce and use it within two weeks, separately from the bowl leftovers.
Storage & reheating safety
For cooked, perishable leftovers, refrigerate within 2 hours (1 hour above 90°F), using shallow containers for prompt cooling. Keep the refrigerator at 40°F or below, use refrigerated leftovers within 3–4 days, and reheat hot leftovers to 165°F, checked with a food thermometer. Follow any shorter package limit.
These are general safety limits, not a tested storage or freezing recommendation for this particular dish. USDA leftovers guidance · Safe cooking temperatures
Recipe source: justonecookbook.com. Ingredient names and quantities may be adapted for the pantry.
Preparation notes follow the recipe shown here.