Kitchen notes · a little help before you start
Classic Buttermilk Fried Chicken
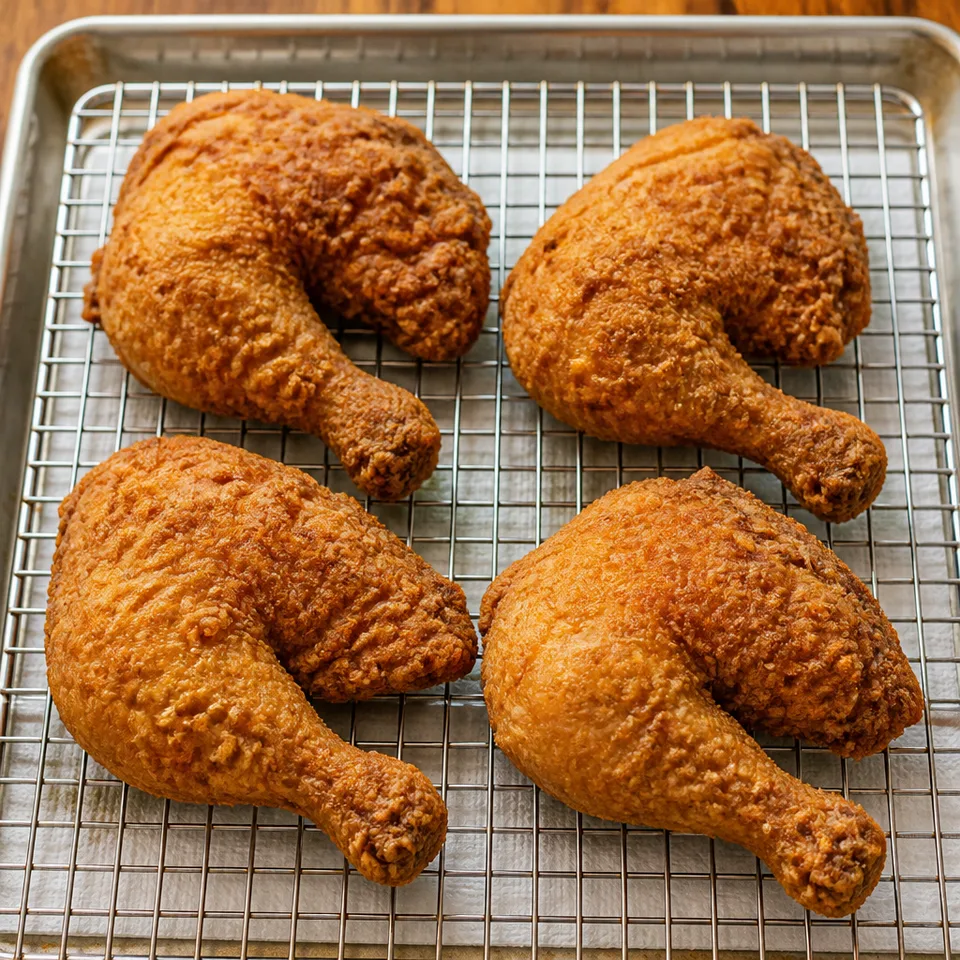
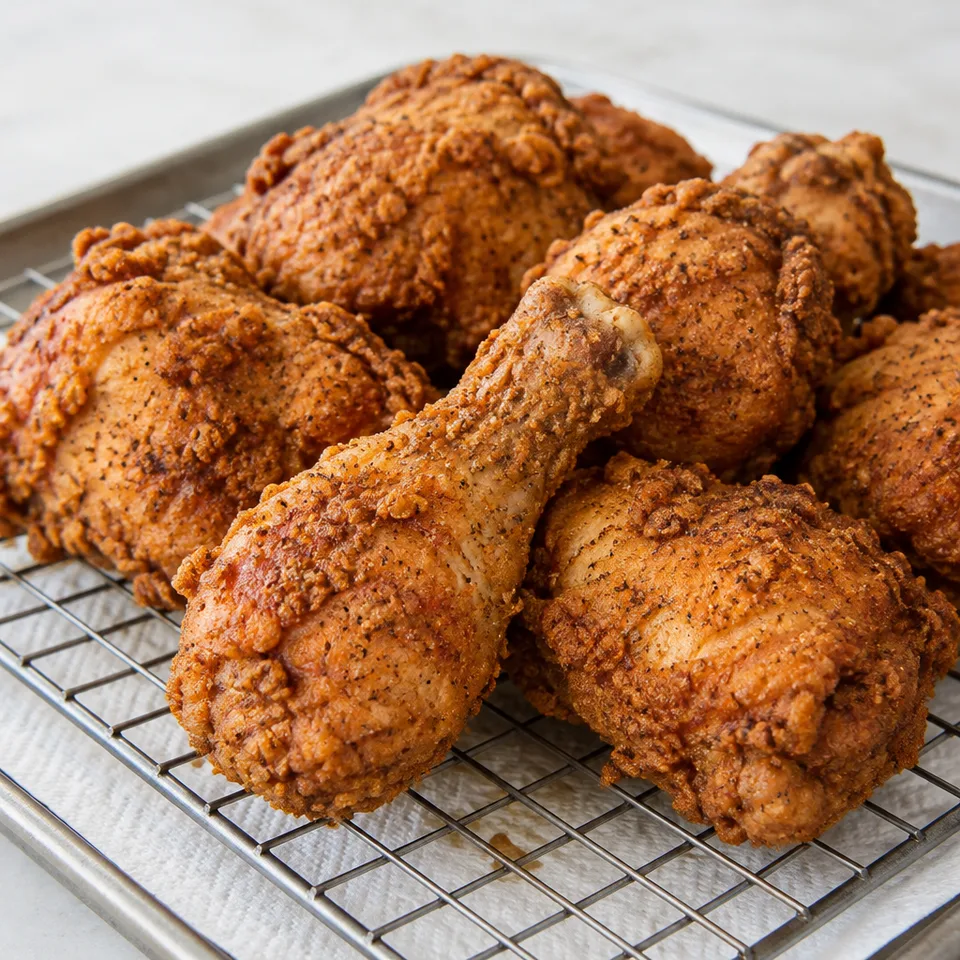
A piece of buttermilk fried chicken with a crisp, seasoned crust is worth sitting down for. The coating gives you a satisfying crunch before the tender meat underneath. Let the hot pieces have their brief rest, then bring them to the table and enjoy eating with your hands.
- Prep
- 15 min
- Cook
- 20 min
- Total
- 35 min
- Original yield
- Serves 5
- Ingredients
- 17 listed
Make it part of your week
Recipe categories & planning details
- Meal type
- Main course
- Primary protein
- Chicken
- Cuisine
- American
- Preparation & total time
- Prep: 15 minutes or less · Total: 31–60 minutes
A few quick notes
1. Chill in the buttermilk mixture
Coat the chicken in whisked buttermilk, hot sauce and seasoning, then cover for the stated refrigerator marinating period.
2. Shake off both excesses
Let extra marinade fall away before flouring, then gently shake off extra seasoned flour before staging the coated pieces.
3. Keep an eye on oil temperature
Fry in the stated small batches, adjusting stove heat because adding chicken lowers the oil temperature.
Get to know the ingredients
Bone-in, skin-on chicken
These are the specified pieces, with thighs and drumsticks preferred, coated and marinated before the frying preparation.
Buttermilk
Whisk the buttermilk with optional hot sauce, salt and pepper before turning the chicken through it to coat.
Cornstarch in the flour mix
The cornstarch joins flour and dry seasonings for the coating, kept separate from the liquid marinade.
Let’s make it
Choose your servings, then check things off as you go.
Original recipe: Serves 5. Original quantities shown.
Check ingredients as you prepare them. These checks stay on this page.
How to make it
0 of 9 steps completeMake room for Classic Buttermilk Fried Chicken
Review ingredients in your pantry before anything is added. Meal plans use your household size; grocery-only additions use the servings selected above.
The last little job
Rest on the prepared rack
Lift cooked chicken onto the wire rack over the lined sheet, then let it rest briefly before serving.
A little more help as you go
Set up draining space first
Prepare the wax-paper staging plate and towel-lined sheet with a wire rack before coating and frying the chicken.
Turn pieces during frying
Turn every few minutes and use the stated 165°F minimum internal-temperature check before lifting chicken out of the oil.
A few questions you might have
Is the hot sauce required in the marinade?
It is optional but recommended, whisked into the buttermilk before chicken is added and chilled under cover.
Which oils are included?
Vegetable, canola or peanut oil is listed for frying, brought to the stated temperature in the heavy skillet or Dutch oven.
Do all pieces fry together?
Fry the stated three-to-four-piece batches so the oil temperature can be managed, then repeat with the remaining chicken.
Can I mix flour seasoning in a bag?
Yes. A large shallow bowl or the listed resealable or paper bag can hold the seasoned flour mixture for coating.
Does the timer include marinating?
The cooking time doesn't include marinating or any additional frying batches, so plan for those separately.
Any more cooking tips?
Cooking time does not include marinating time, as this will vary from individual to individual. Cooking time also does not include the time to fry additional batches of chicken.
Storage & reheating safety
For cooked, perishable leftovers, refrigerate within 2 hours (1 hour above 90°F), using shallow containers for prompt cooling. Keep the refrigerator at 40°F or below, use refrigerated leftovers within 3–4 days, and reheat hot leftovers to 165°F, checked with a food thermometer. Follow any shorter package limit.
These are general safety limits, not a tested storage or freezing recommendation for this particular dish. USDA leftovers guidance · Safe cooking temperatures
Recipe source: thechunkychef.com. Ingredient names and quantities may be adapted for the pantry.
Preparation notes follow the recipe shown here.