Kitchen notes · a little help before you start
Chili Ranch Skillet Chicken Breast
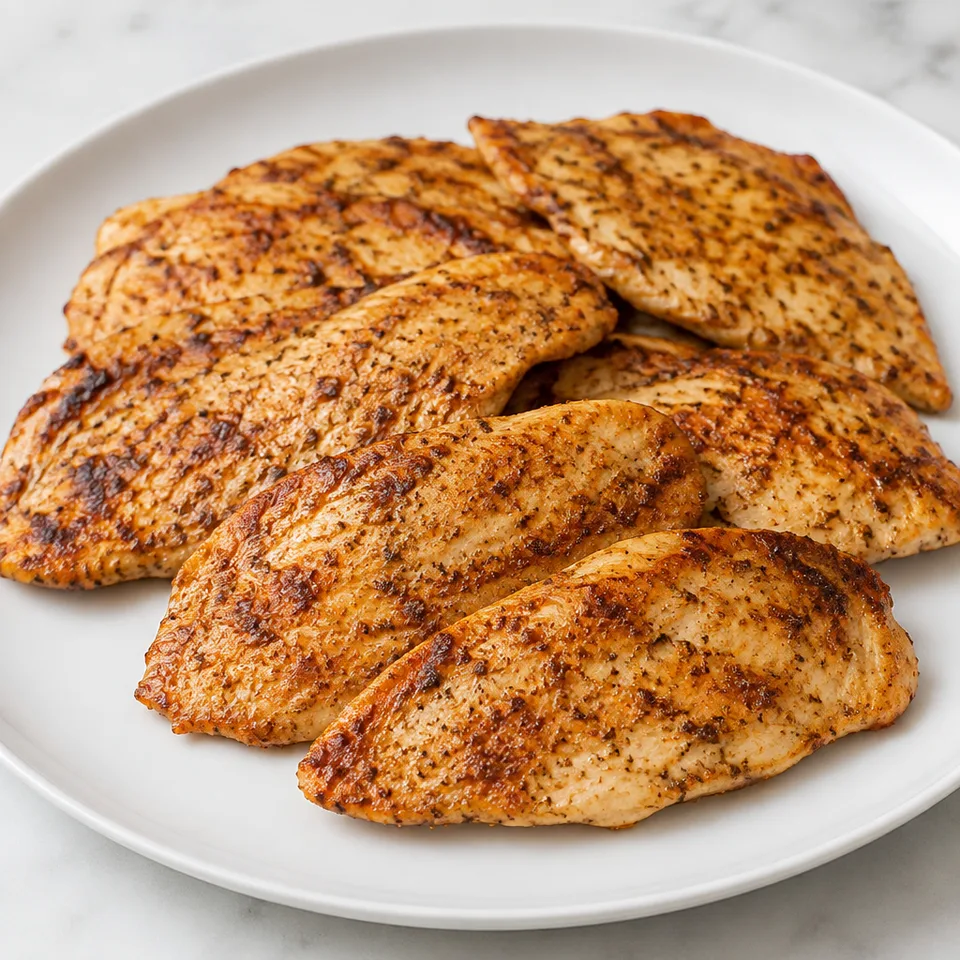
Chili ranch chicken has a savory coating with smoky paprika and a bright touch of lime. The browned edges make those thin cutlets particularly appealing on the plate. If ranch seasoning is a flavor you already enjoy, this is a welcoming way to make it part of dinner.
- Prep
- 10 min
- Cook
- 10 min
- Original yield
- Serves 6
- Ingredients
- 7 listed
Make it part of your week
Recipe categories & planning details
- Meal type
- Dinner
- Primary protein
- Chicken
- Cuisine
- American
- Preparation & total time
- Prep: 15 minutes or less
A few quick notes
1. Coat the chicken well
The marinade is thick with ranch seasoning and spices, so turn the cutlets until every surface is covered. A container or zip-top bag both work here, as long as the chicken gets a good coating before it rests.
2. Use the two-part skillet cook
Give the chicken a quick sear over medium-high heat first, then lower the heat and cover the pan. That short covered finish helps the thin cutlets cook through without staying over high heat the whole time.
3. Check before pulling it off
The chicken comes out of the pan when it’s cooked through to 160˚F. Since thin cutlets can vary a bit, start checking near the early end of the covered cooking time.
Get to know the ingredients
Thin cutlets cook quickly
The chicken breast is sliced into thin cutlets, which is why the skillet time is short. Keep that form in mind while cooking, because thicker pieces wouldn’t match the timing given here.
Ranch seasoning does the heavy lifting
A packet of ranch seasoning brings most of the savory seasoning to the marinade. Mix it fully with the lime juice and oil so it coats the chicken instead of sitting in dry clumps.
Lime juice loosens the marinade
The lime juice goes straight into the marinade with the oil and seasonings. It helps turn the dry ranch and spices into something you can spread over all sides of the chicken.
Let’s make it
Choose your servings, then check things off as you go.
Original recipe: Serves 6. Original quantities shown.
Check ingredients as you prepare them. These checks stay on this page.
How to make it
0 of 4 steps completeMake room for Chili Ranch Skillet Chicken Breast
Review ingredients in your pantry before anything is added. Meal plans use your household size; grocery-only additions use the servings selected above.
The last little job
Let it rest, then serve hot
After the chicken leaves the pan, give it the full 3-minute rest. It’s the last small pause before serving, and it keeps you from slicing or serving it the second it comes off the heat.
A little more help as you go
Oil is used in two places
Most of the oil goes into the marinade, with the remaining tablespoon saved for the skillet. Mixing all of it into the marinade would leave you without the oil called for when the pan heats up.
Cover once the sear is done
The lid comes on after both sides have seared. That order matters for this recipe: color first, then a lower, covered finish until the chicken reaches the target temperature.
A few questions you might have
Do I marinate the chicken at room temperature or in the fridge?
Use the refrigerator for the 30-minute rest. The chicken is coated first, then chilled in the container or zip-top bag before it goes into the skillet.
Should I wipe off the marinade before searing?
No. The chicken goes from being covered in marinade to the hot pan. Just place the coated cutlets in the skillet and sear each side as directed.
What heat should I use after searing?
Start at medium-high for the sear, then reduce the heat to low and cover the pan. The covered low-heat stage is where the chicken finishes cooking through.
When is the chicken ready to remove from the skillet?
Remove it when the chicken breasts are cooked through to 160˚F. The recipe gives a 4 to 8 minute covered finish after searing, so check within that window.
Does the chicken need to rest after cooking?
Yes. Move it out of the pan and let it rest for 3 minutes before serving hot.
Storage & reheating safety
For cooked, perishable leftovers, refrigerate within 2 hours (1 hour above 90°F), using shallow containers for prompt cooling. Keep the refrigerator at 40°F or below, use refrigerated leftovers within 3–4 days, and reheat hot leftovers to 165°F, checked with a food thermometer. Follow any shorter package limit.
These are general safety limits, not a tested storage or freezing recommendation for this particular dish. USDA leftovers guidance · Safe cooking temperatures
Recipe source: easyfamilyrecipes.com. Ingredient names and quantities may be adapted for the pantry.
Preparation notes follow the recipe shown here.