Kitchen notes · a little help before you start
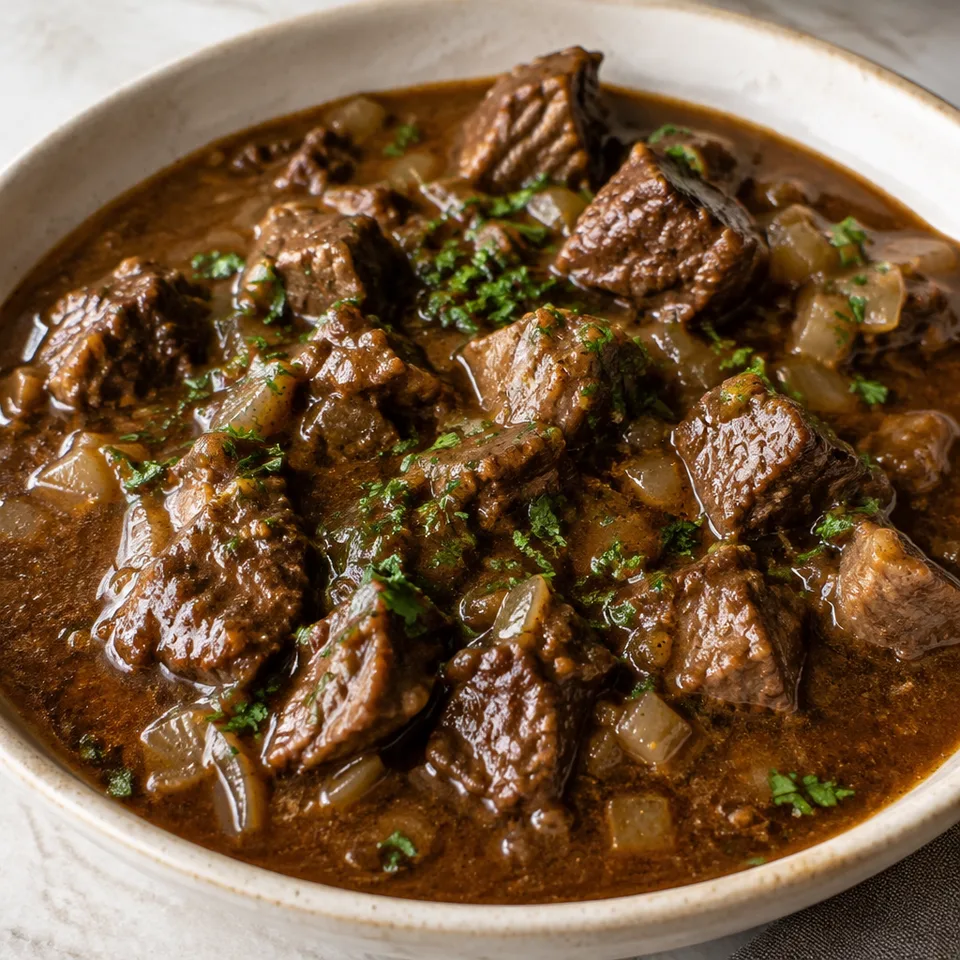
Beef Tips with Gravy
Tender beef pieces in warm gravy make a hearty plate to sit down with. The browned edges give the sauce a savory start, with thyme adding a gentle herbal flavor. Spoon up the beef with plenty of gravy and enjoy the simple comfort of a well-cooked stew.
- Prep
- 15 min
- Cook
- 40 min
- Total
- 55 min
- Original yield
- Serves 6
- Ingredients
- 15 listed
Make it part of your week
Recipe categories & planning details
- Meal type
- Dinner · Lunch
- Primary protein
- Beef
- Cuisine
- American
- Preparation & total time
- Prep: 15 minutes or less · Total: 31–60 minutes
A few quick notes
1. Brown the beef first
Season beef and sear all sides before removing it, then use the same pot to soften onion in butter.
2. Whisk the broth well
Cook the flour briefly with garlic and onion, then pour in broth and whisk thoroughly before returning beef and seasonings.
3. Simmer until tender
Reduce the initial boil to a simmer and stir occasionally, allowing the gravy to thicken and beef to become tender.
Get to know the ingredients
Choice of beef
You can use chuck, sirloin or other stewing beef. Chuck is a good choice if you want especially tender beef in the gravy.
Fresh thyme sprigs
The thyme sprigs simmer in the gravy with a bay leaf, then both are removed before final tasting and parsley garnish.
Unsalted butter
Butter melts in the beef pot after searing, giving the onion its softening stage before garlic, flour and broth go in.
Let’s make it
Choose your servings, then check things off as you go.
Original recipe: Serves 6. Original quantities shown.
Check ingredients as you prepare them. These checks stay on this page.
How to make it
0 of 4 steps completeMake room for Beef Tips with Gravy
Review ingredients in your pantry before anything is added. Meal plans use your household size; grocery-only additions use the servings selected above.
The last little job
Remove herbs and taste
Take out thyme sprigs and bay leaf, taste for salt and pepper and finish with chopped parsley before serving the beef and gravy.
A little more help as you go
Sear in batches
Brown beef in batches, giving its surfaces room to develop color before they join the gravy's simmer.
A wine option
You can replace half a cup of broth with red wine for the gravy, keeping the remaining broth in the sauce.
A few questions you might have
Can I thicken the gravy more?
You can use an uncovered simmer at the end or a small cornstarch slurry if the gravy still needs more body.
Does the onion brown with raw beef?
Remove the seared beef first, then soften onion in butter before adding garlic and the flour for the gravy.
When do soy and Worcestershire go in?
Add both after whisking in beef broth, together with thyme, bay leaf and the seared beef before bringing to a boil.
Does parsley simmer with thyme?
The parsley is kept for the finish after thyme and bay leaf are removed, rather than cooking through the full gravy stage.
How softened should the onion become?
Cook it three to four minutes in melted butter, or until softened and translucent, before adding garlic and flour.
Any more cooking tips?
Chuck roast is the best choice, skip the lean cuts if you want melt-in-your-mouth beef. Sear in batches. I know it’s a pain, but trust me, that browned crust builds the best flavor. Want to level it up? Swap ½ cup of broth for red wine. It’s not required, but it’s absolutely worth it. Fresh thyme is lovely, but dried works just fine, just use about ⅓ of the amount. To thicken the gravy more, let it simmer uncovered or add a cornstarch slurry near the end.
Storage & reheating safety
For cooked, perishable leftovers, refrigerate within 2 hours (1 hour above 90°F), using shallow containers for prompt cooling. Keep the refrigerator at 40°F or below, use refrigerated leftovers within 3–4 days, and reheat hot leftovers to 165°F, checked with a food thermometer. Follow any shorter package limit.
These are general safety limits, not a tested storage or freezing recommendation for this particular dish. USDA leftovers guidance · Safe cooking temperatures
Recipe source: jocooks.com. Ingredient names and quantities may be adapted for the pantry.
Preparation notes follow the recipe shown here.