Kitchen notes · a little help before you start
Crostini Recipe
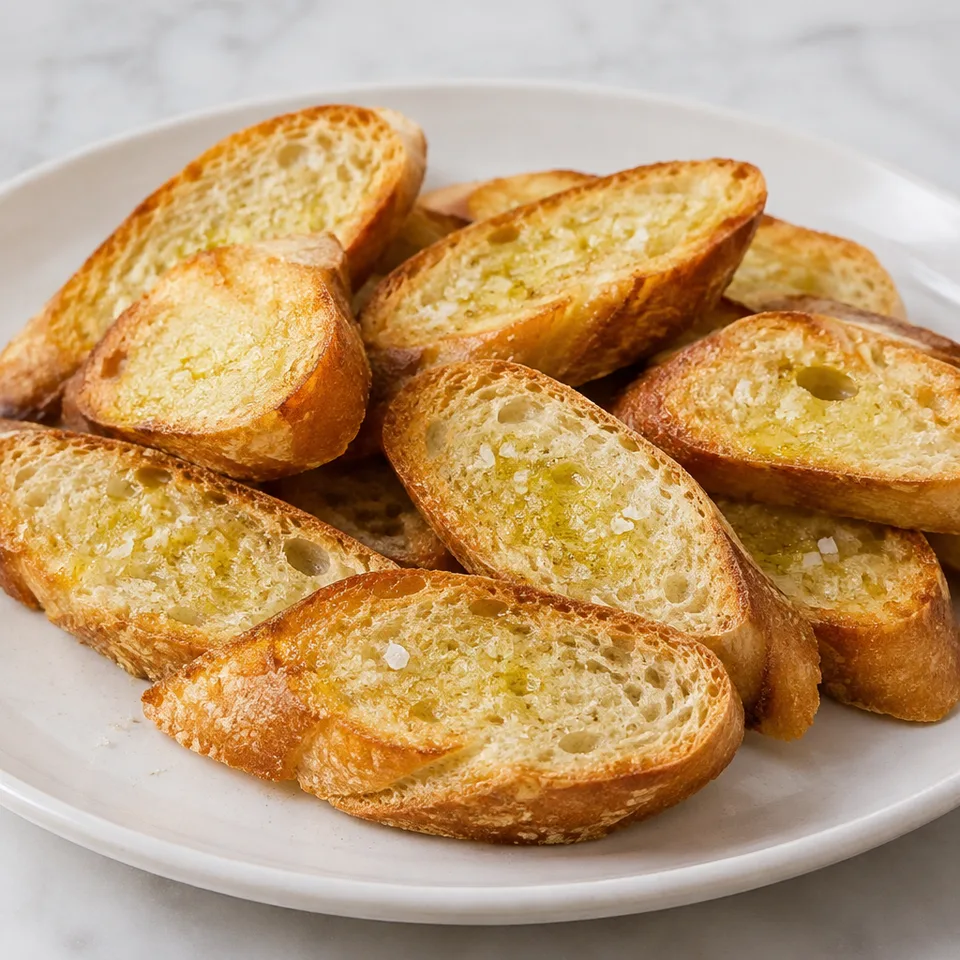
Lightly golden baguette slices with garlic and olive oil are a small pleasure worth making room for. Their crisp edges make each bite especially appealing. A little salt brings out the bread's flavor, leaving these crostini easy to enjoy one piece at a time.
- Prep
- 5 min
- Cook
- 8 min
- Total
- 13 min
- Original yield
- Serves 6
- Ingredients
- 4 listed
Make it part of your week
Recipe categories & planning details
- Meal type
- Dinner
- Cuisine
- Italian
- Cooking method
- Baking · Baked & roasted
- Preparation & total time
- Prep: 15 minutes or less · Total: 30 minutes or less
A few quick notes
1. Slice on the angle
Angled slices give you a little more surface to rub with garlic and drizzle with oil. Keep them about 1/2 inch thick so they toast quickly without turning flimsy.
2. Rub before you drizzle
Use the cut side of the garlic clove on the bread before the oil goes on. Dry bread catches the garlic better, and the oil can follow after that.
3. Watch the color
The bake is short, and the goal is very lightly golden brown. Start checking near the early end so the crostini stay crisp and pale-golden rather than deeply browned.
Get to know the ingredients
Baguette thickness matters
The baguette is sliced 1/2 inch thick at an angle. That size is sturdy enough to handle the garlic rub and oil, while still toasting in the short bake time.
Use a fresh cut garlic clove
Slice off the tip of the garlic clove, then rub the bread well. You’re using the cut face like a little seasoning tool, so don’t leave the clove whole and untouched.
Drizzle the oil, then salt
The olive oil goes on after the garlic rub, followed by kosher salt. A drizzle is enough to help the bread toast and carry the seasoning without needing anything fancier.
Let’s make it
Choose your servings, then check things off as you go.
Original recipe: Serves 6. Original quantities shown.
Check ingredients as you prepare them. These checks stay on this page.
How to make it
0 of 5 steps completeMake room for Crostini Recipe
Review ingredients in your pantry before anything is added. Meal plans use your household size; grocery-only additions use the servings selected above.
The last little job
The last little job
Pull the crostini when they’re very lightly golden brown. They don’t need a dark toast here, just enough color at the edges to make the garlic, oil, and salt taste finished.
A little more help as you go
For a stronger garlic flavor
If you want the garlic to come through more, mince it and saute it with the olive oil over medium heat, making sure the garlic doesn’t brown. Brush that mixture over the baguette before baking.
Give the slices room
Spread the sliced baguette on a large baking sheet before seasoning. Keeping the pieces in a single layer helps each one toast instead of sitting under another slice.
A few questions you might have
Do I need to peel or mince the garlic for the basic version?
No mincing is needed for the basic version. Just slice off the tip of the clove and rub the cut side over the bread well before adding the oil and salt.
Can I make the crostini more garlicky?
Yes. Mince the garlic, saute it with the olive oil over medium heat, and don’t let it brown. Then brush it over the baguette slices before they go in the oven.
How brown should the crostini get?
Aim for very lightly golden brown. The recipe’s bake time is brief, so they’re done once the color just starts to show rather than when they look deeply toasted.
Should the oil go on before or after the garlic rub?
Rub the bread with the cut garlic clove first. Then drizzle with olive oil and sprinkle with kosher salt before baking.
Why slice the baguette at an angle?
Angled slices give each piece a broader face for rubbing with garlic and drizzling with oil. Keep the slices 1/2 inch thick, as written, so they bake evenly.
Any more cooking tips?
Note: If you prefer a more garlicky taste, mince the garlic and saute with the olive oil over medium heat, making sure not to brown the garlic. Then brush over baguette slices before placing in oven.
Storage & reheating safety
For cooked, perishable leftovers, refrigerate within 2 hours (1 hour above 90°F), using shallow containers for prompt cooling. Keep the refrigerator at 40°F or below, use refrigerated leftovers within 3–4 days, and reheat hot leftovers to 165°F, checked with a food thermometer. Follow any shorter package limit.
These are general safety limits, not a tested storage or freezing recommendation for this particular dish. USDA leftovers guidance · Safe cooking temperatures
Recipe source: dinnerthendessert.com. Ingredient names and quantities may be adapted for the pantry.
Preparation notes follow the recipe shown here.