Kitchen notes · a little help before you start
Honey Barbecue Chicken Bites
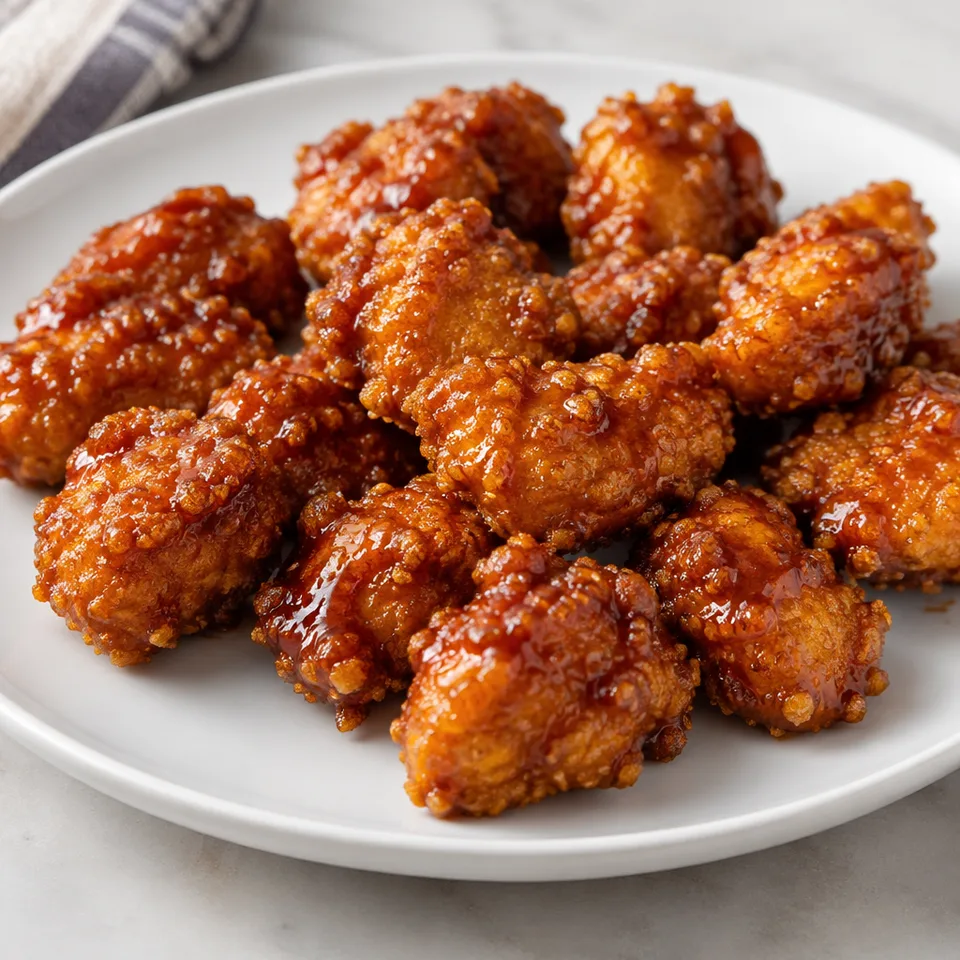
Honey barbecue chicken bites have a sweet, tangy coating over a cornflake crust. They're an appealing pick when dinner calls for something you can eat a piece at a time. The sauce makes them a little sticky, which suits those crunchy, bite-sized pieces very well.
- Prep
- 10 min
- Cook
- 20 min
- Total
- 30 min
- Original yield
- Serves 4
- Ingredients
- 12 listed
Make it part of your week
Recipe categories & planning details
- Meal type
- Appetizers · Appetizers & snacks · Main course
- Primary protein
- Chicken
- Cuisine
- American
- Cooking method
- Baking · Baked & roasted
- Preparation & total time
- Prep: 15 minutes or less · Total: 30 minutes or less
A few quick notes
1. Set up the bowls in order
Flour, egg mixture, then seasoned cornflakes is the rhythm here. Lining the bowls up before you start keeps the coating moving and helps you avoid handling the chicken more than you need to.
2. Give the bites room
Once the chicken is breaded, spread the pieces out on the prepared baking sheet. A little space helps the coating bake instead of steaming against its neighbors.
3. Flip halfway through baking
The chicken bakes on both sides, so don't skip the turn. It helps the cornflake coating cook more evenly before the bites meet the sauce.
Get to know the ingredients
Chicken pieces
Cut the boneless skinless chicken breasts into bite-sized pieces before coating. Keeping the pieces small is what makes the quick bake and final sauce toss work.
Crushed cornflakes
The cornflakes are the main crunch, so they need to be crushed before mixing with the seasonings. They go on after the flour and egg, which helps them cling to the chicken.
Honey and barbecue sauce
Warm the barbecue sauce and honey together before tossing. Heating them first makes the sauce easier to coat over the baked bites without a lot of stirring or breaking up the crust.
Let’s make it
Choose your servings, then check things off as you go.
Original recipe: Serves 4. Original quantities shown.
Check ingredients as you prepare them. These checks stay on this page.
How to make it
0 of 9 steps completeMake room for Honey Barbecue Chicken Bites
Review ingredients in your pantry before anything is added. Meal plans use your household size; grocery-only additions use the servings selected above.
The last little job
The last little job
Toss the baked chicken bites in the warm honey barbecue sauce right before serving. That keeps the coating as lively as possible while still giving every piece that sticky-sweet finish.
A little more help as you go
Keep one hand for dry, one for wet
The coating order is simple, but it can get clumpy fast. Use one hand for the flour and cornflakes and the other for the egg mixture if you want the breading to stay tidier.
Line the pan first
The recipe starts with a lined baking sheet for a reason. The breaded chicken goes straight onto it, and the lining helps with the sticky bits that can happen during baking.
A few questions you might have
Do I really need the flour before the egg?
Yes. The chicken goes into flour first, then egg and milk, then the crushed cornflakes. That first flour layer helps the egg mixture stick, which helps the cornflake coating stay on.
Should the cornflakes be finely crushed?
They should be crushed before you coat the chicken, but the recipe doesn't call for a specific texture. Aim for pieces small enough to cover the bites well, not whole flakes straight from the box.
When do I add the honey barbecue sauce?
After the chicken bites have baked and been flipped halfway through. Warm the barbecue sauce with the honey, then toss the cooked bites in it and serve right away.
Can I sauce the chicken before baking?
No. The chicken is baked with the cornflake coating first. The barbecue sauce and honey are heated separately, then tossed with the baked bites at the end.
What seasons the coating?
The crushed cornflakes are mixed with garlic powder, onion powder, chili powder, salt, and pepper before the chicken is coated. That puts the seasoning right in the crunchy layer.
Storage & reheating safety
For cooked, perishable leftovers, refrigerate within 2 hours (1 hour above 90°F), using shallow containers for prompt cooling. Keep the refrigerator at 40°F or below, use refrigerated leftovers within 3–4 days, and reheat hot leftovers to 165°F, checked with a food thermometer. Follow any shorter package limit.
These are general safety limits, not a tested storage or freezing recommendation for this particular dish. USDA leftovers guidance · Safe cooking temperatures
Recipe source: chefsavvy.com. Ingredient names and quantities may be adapted for the pantry.
Preparation notes follow the recipe shown here.