Kitchen notes · a little help before you start
Instant Pot Pot Roast (with the BEST gravy!)
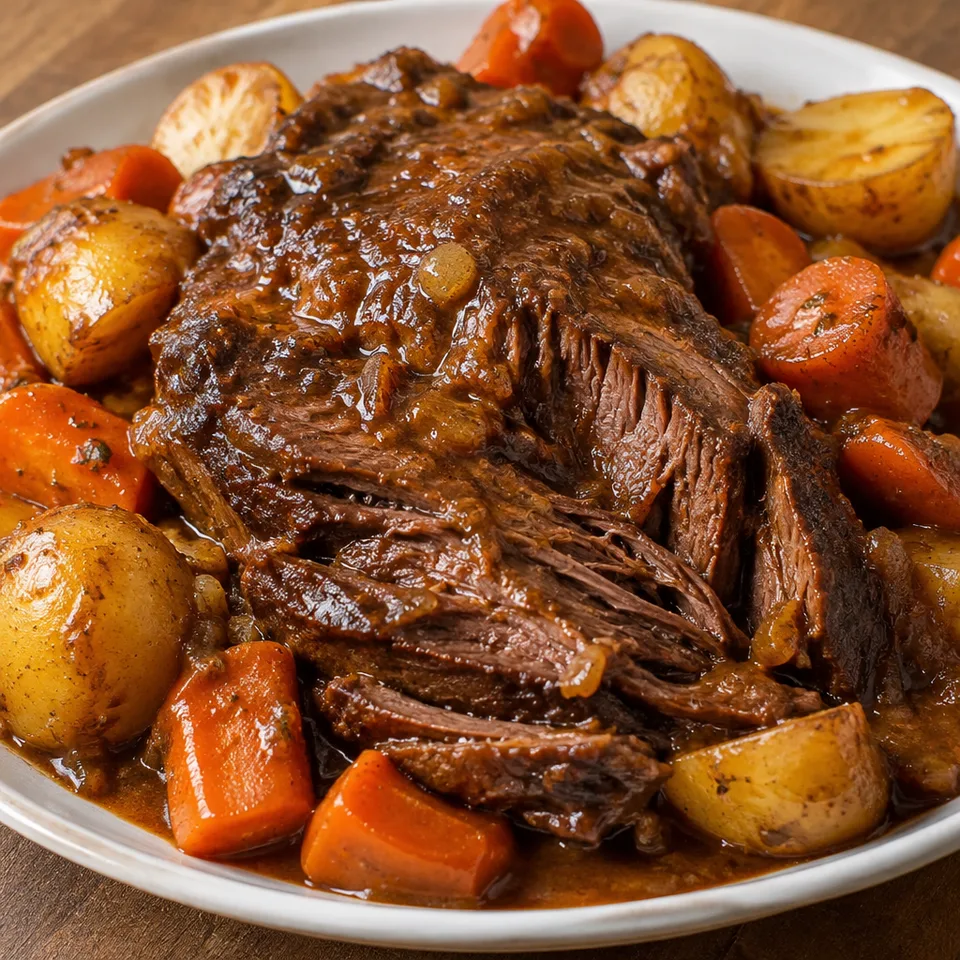
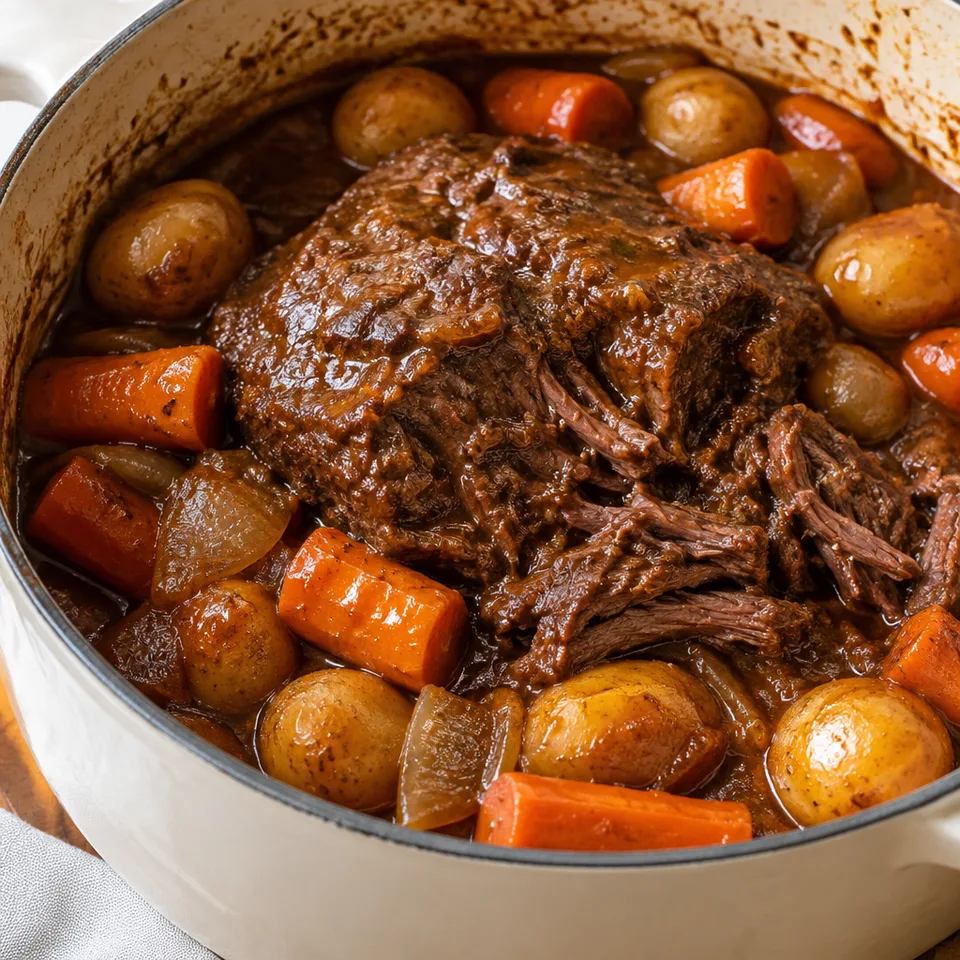
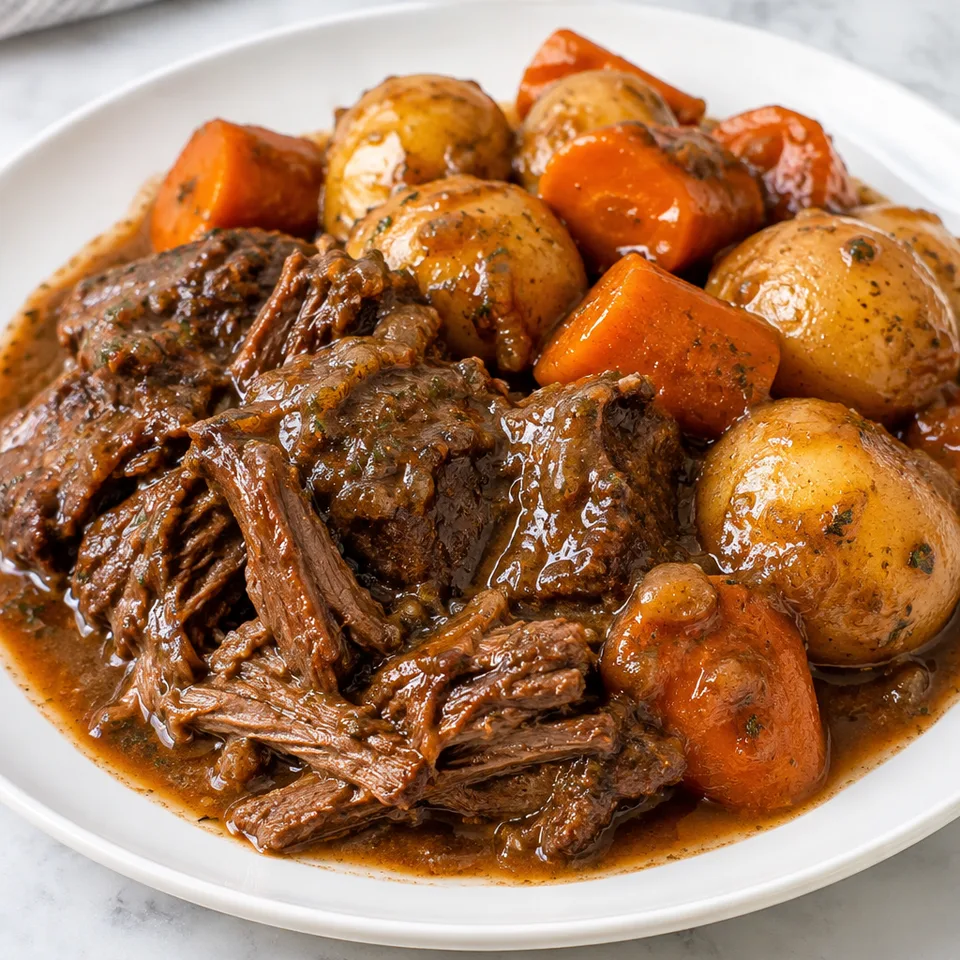
Tender beef with a generous spoonful of gravy makes a roast dinner feel welcoming. The carrots and little potatoes gather beside the shredded meat, ready for that savory sauce.
- Prep
- 15 min
- Cook
- 75 min
- Total
- 130 min
- Original yield
- Serves 8
- Ingredients
- 18 listed
Make it part of your week
Recipe categories & planning details
- Meal type
- Main course
- Primary protein
- Beef
- Cuisine
- American
- Cooking method
- Roasting · Baked & roasted · Pressure cooker
- Preparation & total time
- Prep: 15 minutes or less · Total: over 60 minutes
A few quick notes
1. Let the beef release
Leave each side still during its sear. After two to three minutes, it should release easily when you turn it.
2. Scrape before pressure cooking
Use the broth mixture to lift browned bits from the pot bottom, helping avoid a burn message during pressure cooking.
3. Cook vegetables afterward
Remove and cover the cooked roast before adding potatoes and carrots, giving the beef time to rest while they cook.
Get to know the ingredients
Chuck in large pieces
The ingredient list cuts the three-pound chuck roast into one-pound chunks. Brown the pieces on all sides before pressure cooking.
Whole baby potatoes
Use whole Creamer or baby potatoes, adding them with thick carrot slices after removing the cooked beef from the pot.
Cornstarch slurry
Whisk cornstarch with water separately before stirring it into the gravy, then use sauté mode to thicken the mixture.
Let’s make it
Choose your servings, then check things off as you go.
Original recipe: Serves 8. Original quantities shown.
Check ingredients as you prepare them. These checks stay on this page.
How to make it
0 of 12 steps completeMake room for Instant Pot Pot Roast (with the BEST gravy!)
Review ingredients in your pantry before anything is added. Meal plans use your household size; grocery-only additions use the servings selected above.
The last little job
Gravy for the platter
Arrange the potatoes and carrots with the shredded beef, then serve with the thickened gravy once it reaches the consistency you want.
A little more help as you go
Vegetable pressure release
After the vegetables cook, allow five minutes of natural release before gradually venting the remaining pressure and opening the pot.
Garlic follows onion
Soften the chopped onion after removing browned beef, then cook minced garlic for a minute before adding the liquids.
A few questions you might have
Can I cook a frozen roast?
The directions give ninety to one hundred minutes on high pressure for frozen roast, compared with sixty-five for the regular route.
How is pressure released after the beef cooks?
Turn the pot off and let pressure release naturally, about ten to fifteen minutes, before turning the valve to venting.
What does ketchup add to the gravy?
It adds a little brightness and subtle sweetness. It's optional and goes in before you thicken the gravy.
Is honey an alternative to ketchup?
Honey is listed alongside ketchup in the ingredients. The finishing stage adds that touch before the cornstarch mixture thickens the gravy.
How long do the vegetables pressure cook?
Set Manual or Pressure Cook for three minutes after the beef is removed, then follow the separate vegetable-release directions.
Any more cooking tips?
UPDATED December 3, 2021. I made a few changes to this recipe to make it even more flavorful (and get us more gravy!). I wanted to list them here so you can see what has happened. I added a sauteed onion and garlic to the gravy. You can skip this if you didn’t miss it 🙂 I increased the broth to 2 cups from 1 cup — this gives us more gravy! I also increase the vinegar, tomato paste and Worcestershire sauce to match. I removed the roast after pressure cooking to add the potatoes and carrots, but you can still do it either way. This way, the roast has time to rest and we can shred it while the vegetables cook. I added a tablespoon of ketchup to the gravy — this just brightens the flavors and adds a subtle touch of sweetness.
Storage & reheating safety
For cooked, perishable leftovers, refrigerate within 2 hours (1 hour above 90°F), using shallow containers for prompt cooling. Keep the refrigerator at 40°F or below, use refrigerated leftovers within 3–4 days, and reheat hot leftovers to 165°F, checked with a food thermometer. Follow any shorter package limit.
These are general safety limits, not a tested storage or freezing recommendation for this particular dish. USDA leftovers guidance · Safe cooking temperatures
Recipe source: thereciperebel.com. Ingredient names and quantities may be adapted for the pantry.
Preparation notes follow the recipe shown here.